As I work I think, "Yes, it needed that for the design or color balance." Then there come a point when I say, "No, too, much! Need to STOP!"
|
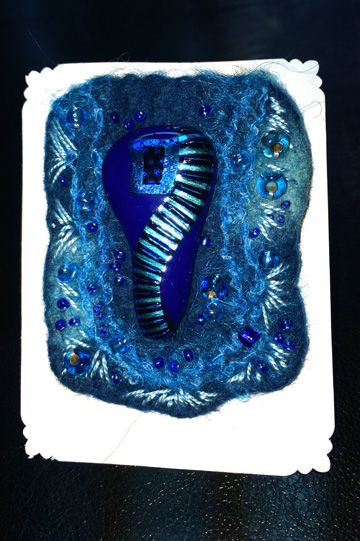
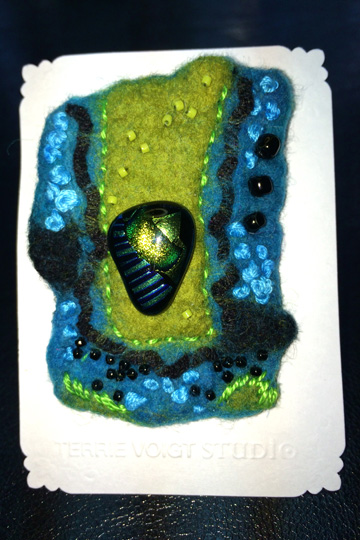
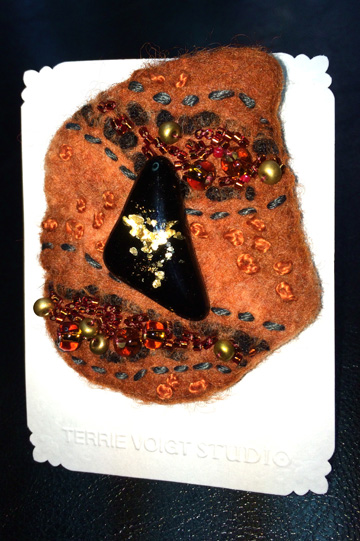
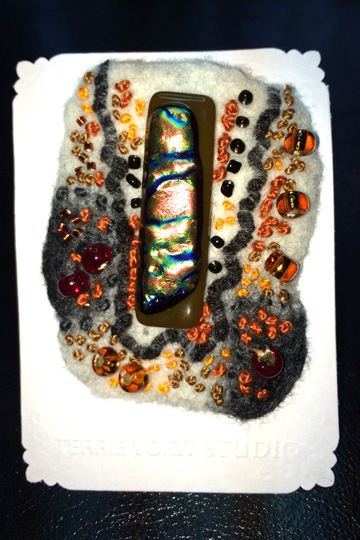
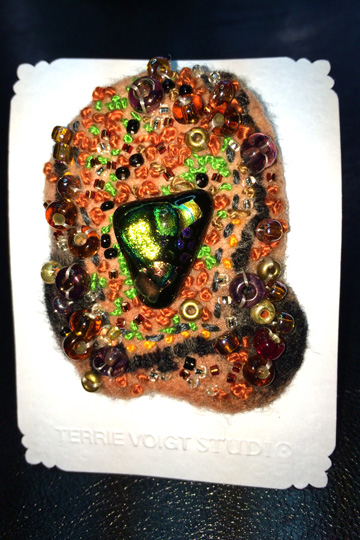
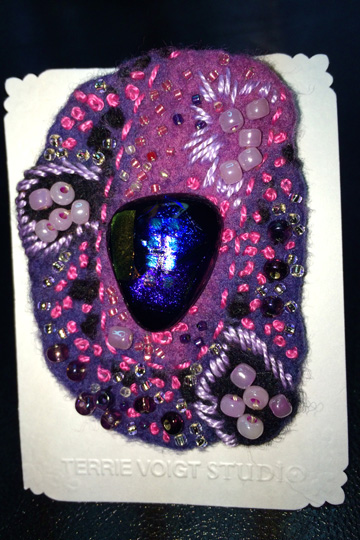
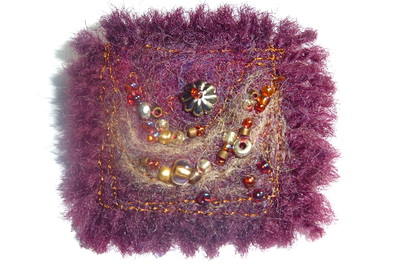
My husband and I often enjoy watching a movie in the evenings: classics, comedies, romantic comedies, mysteries, sci-fi, a good blockbuster, or perhaps a foreign film. We are both movie buffs. But heaven forbid I watch without working with my hands: knitting, stitching, needle felting, beading, or sewing on buttons. I've even woven on my table loom, but honestly with the noise of the beater bar I risk being ejected from the room. Only foreign films and engrossing plots keep me from my hand work! These pin/necklace pieces are my latest (movie) project. The base of the pin is needle and wet felted - colored merino wool roving and yarn. The centerpiece is one of my dichroic glass buttons. Using perle cotton thread, I accent the design with embroidery stitches and French knots. I fill in the design with beads and a little more stitching. As I work I think, "Yes, it needed that for the design or color balance." Then there come a point when I say, "No, too, much! Need to STOP!" I finish the backs with suede cloth and a pin finding that also has a loop to hang the piece as a necklace. It's nice to have the dual option. Now, what to do for tonight's movie????
1 Comment
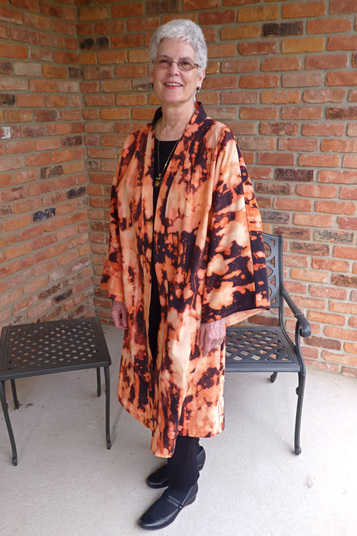
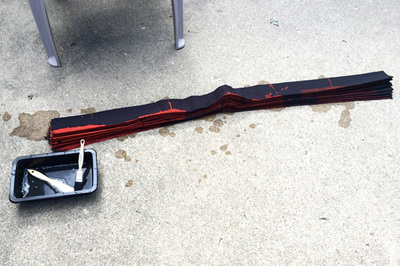
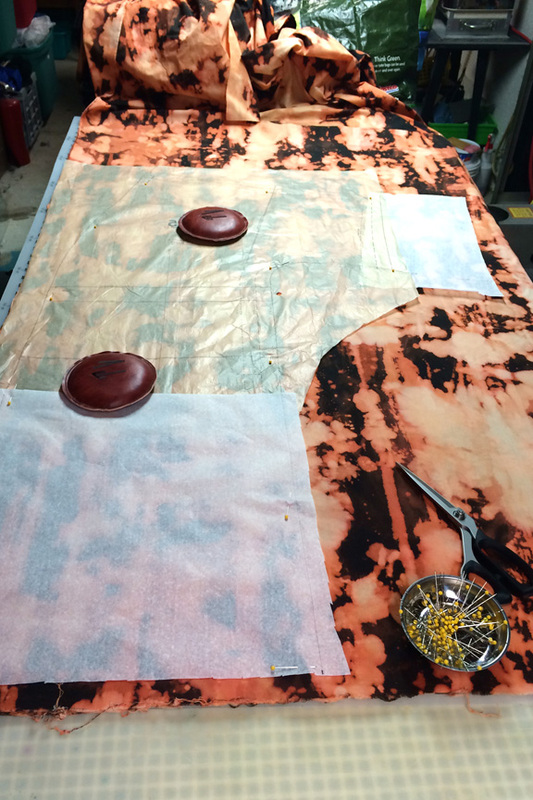
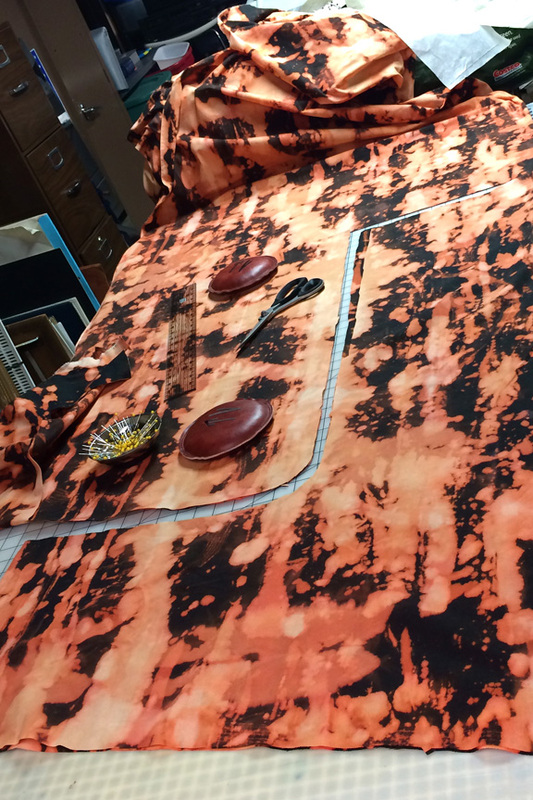
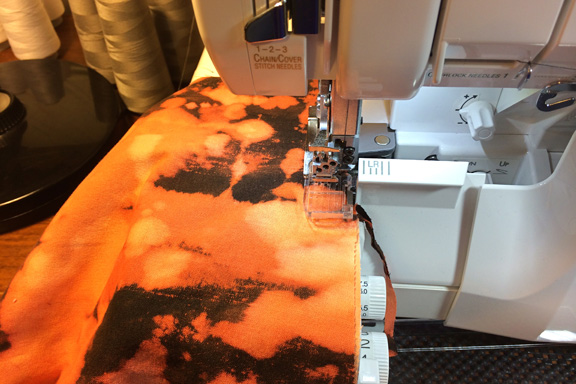
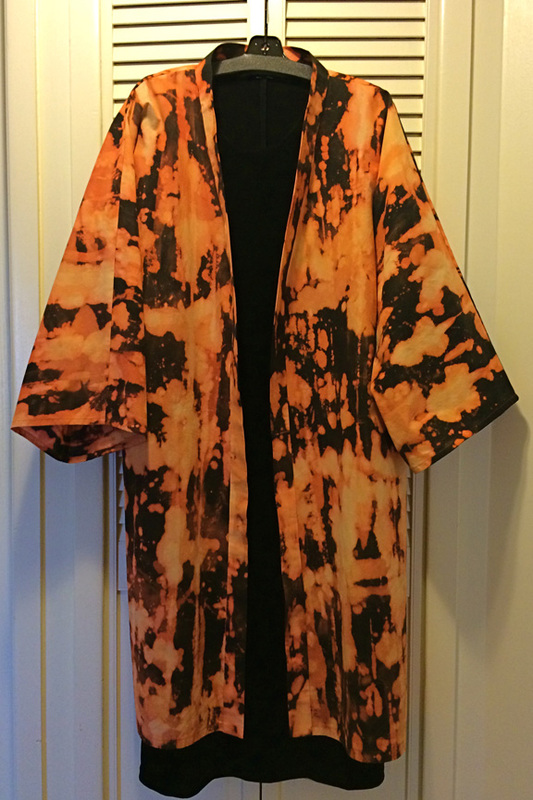
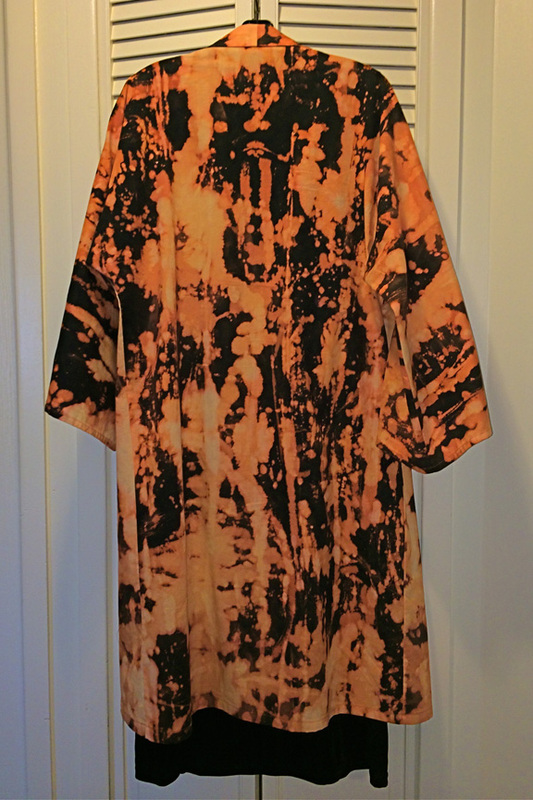
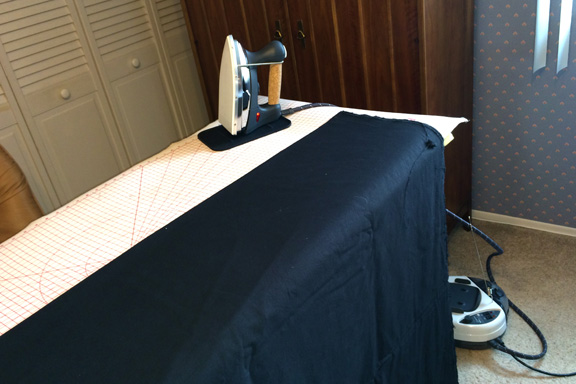
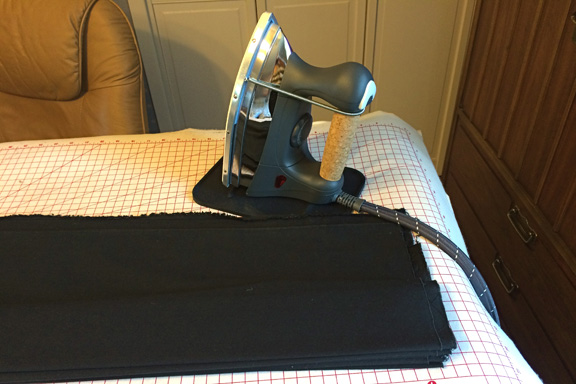
From black cotton to a finished coat. It's always nice to complete a project. I started with 3 yards of 100% black cotton, folding, painting the edges with a bleach/water solution, dripping, unfolding and painting. Details are in a September blog article. The fabric was neutralized, washed three times and ironed. I adapted a basic kimono style pattern by extending the length of the jacket and the sleeves. The seams were serged before turning and sewing French seams. A full length collar was added and the hems sewn. This is a perfect unlined light coat/jacket for a cool afternoon or evening.
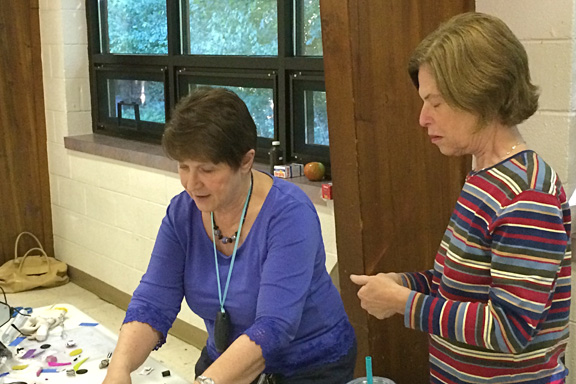
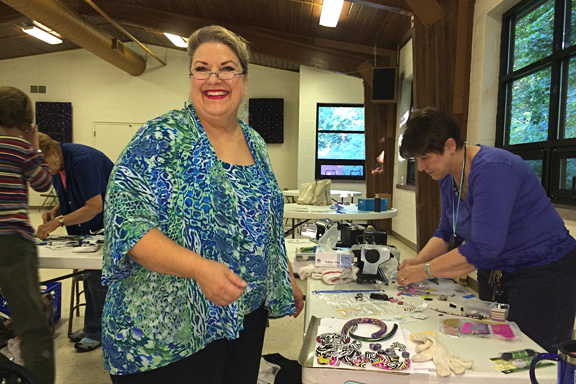
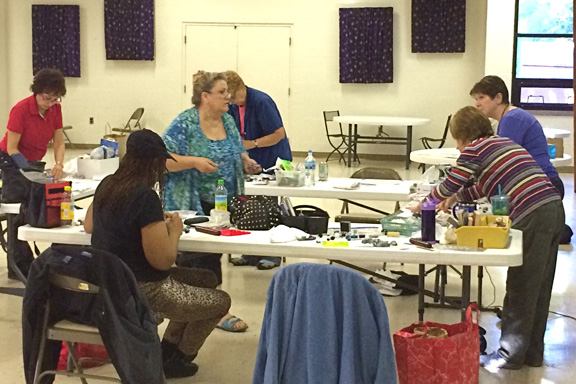
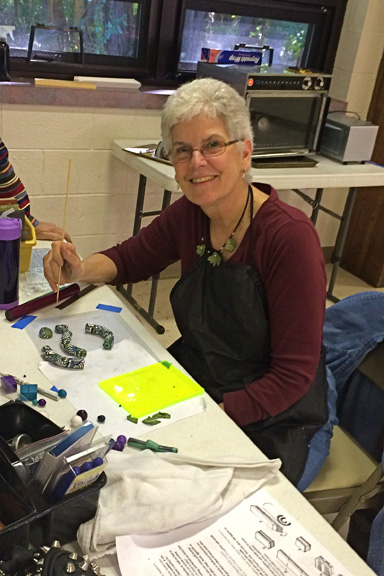
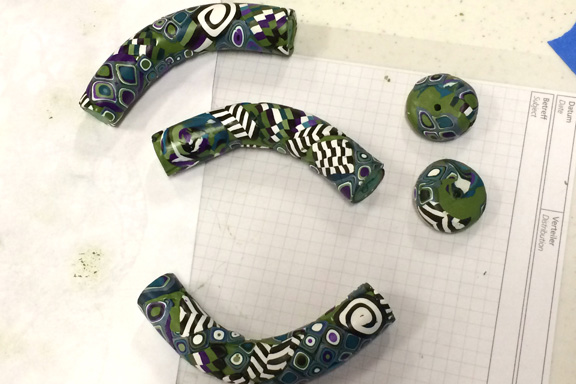
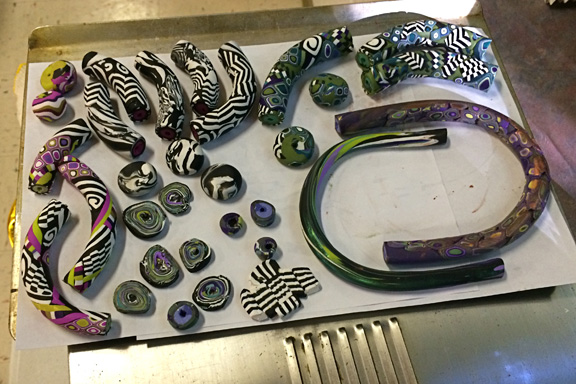
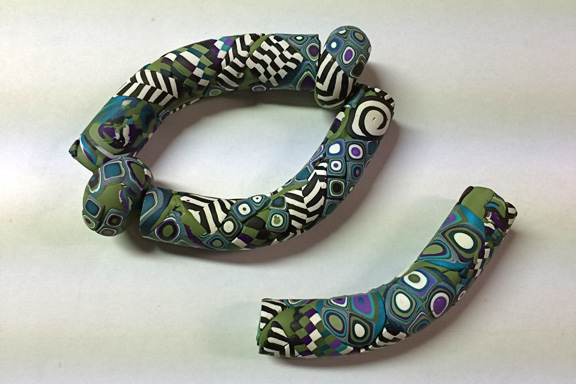
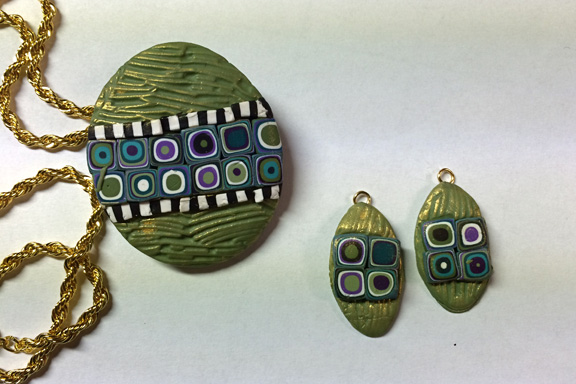
I attended a workshop on Polymer Clay. I've trained to be a Sliver Clay instructor, but I haven't worked with the polymers. Thought I'd give it a try and had so much fun. Instructor - Sharene Sue Screws - Demonstrating a variety of techniques. We are all hard at work. There was so much to learn. We started at 9:30 and worked through to 5:00 with a short break for lunch and great conversation! My pieces are ready to be fired. Class work - fired and ready to assemble. I really enjoyed working with the colors and techniques. Much to learn! I'll try this again. Bracelet and bead for necklace Pin and earrings
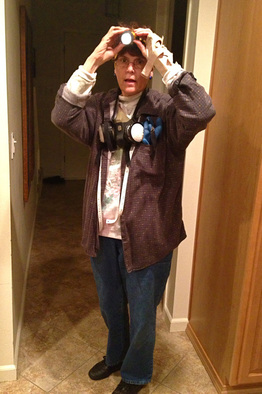
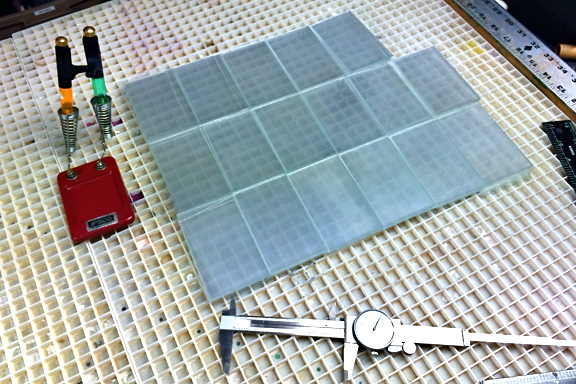
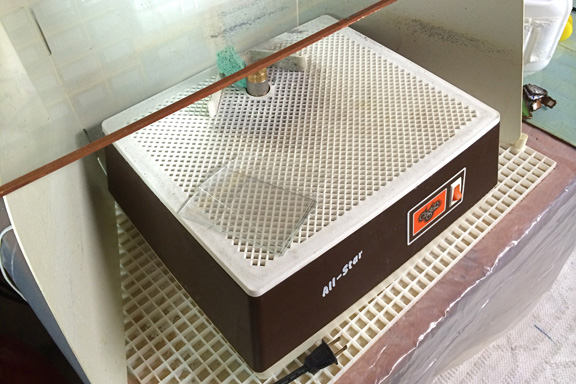
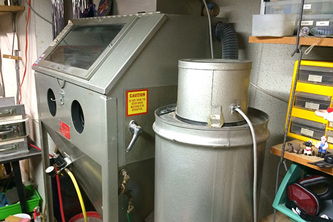
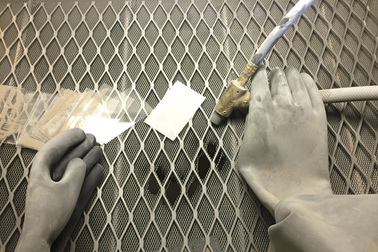
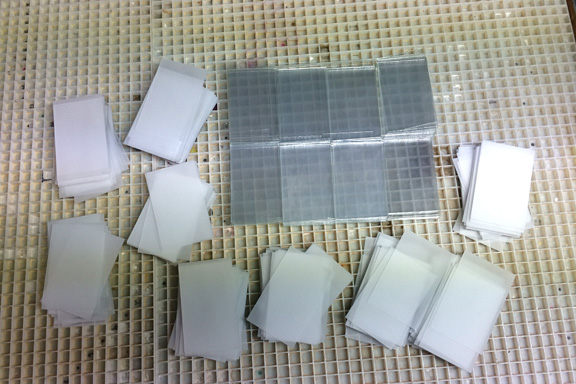
I sandblast on my glass screens, sculptures, buttons and jewelry. But for the last couple of days I've been working on my commercial glass work. 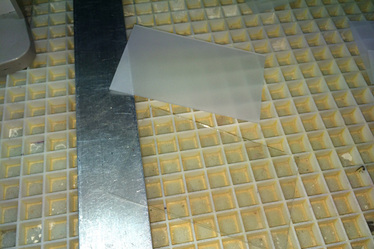 I cut and sandblast 2.51" x 4.04" pieces of micro thin glass. The glass pieces fit into a case that attaches to a microscope to diffuses the light. I like to think that on a very, very small scale I'm participating in the studies at universities and research in laboratories around the planet. I send the plates off with a blessing. Yesterday I cut around 340 pieces and inspected them for proper size. Today I started sandblasting. Each side of the glass is coated with a very fine grit - 220 aluminum oxide. For safety I use a great ventilating system and wear ear protection and an appropriate mask. I have sandblasted and inspected about half the glass pieces. Tomorrow I'll finish sandblasting. Then it's cleaning the plates and packaging them for my current and future orders. Okay, it's not quite as much fun as creating glass and textile art pieces. However, I've been making various microscope glass parts for over two decades. It's good work and it pays bills! Yes!
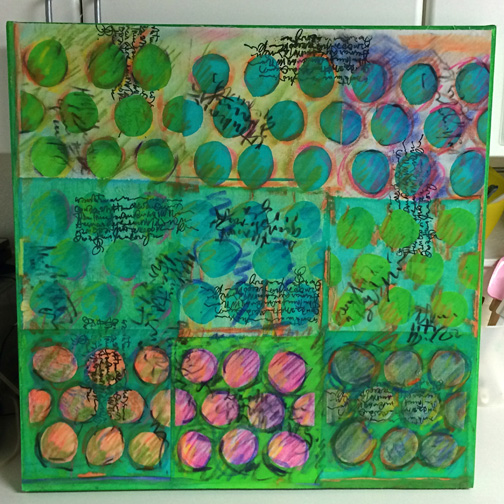
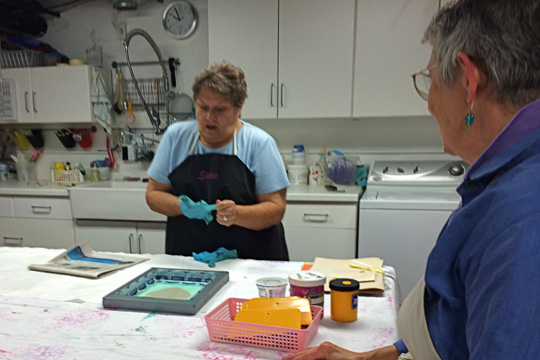
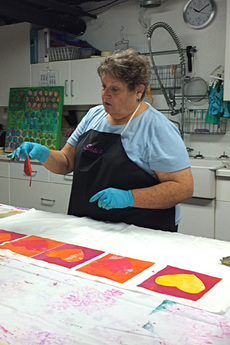
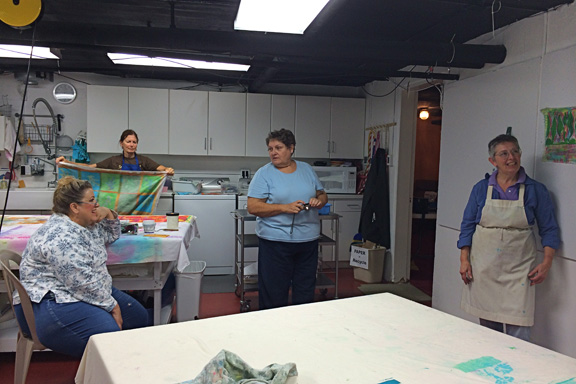
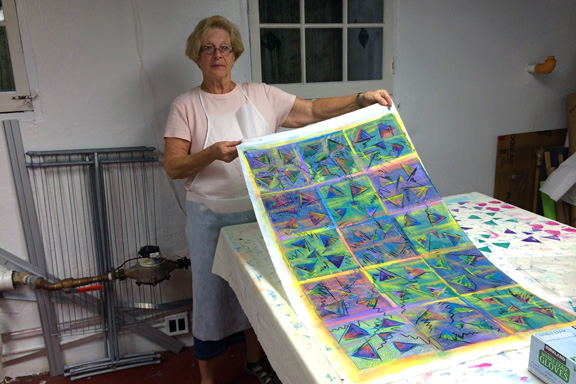
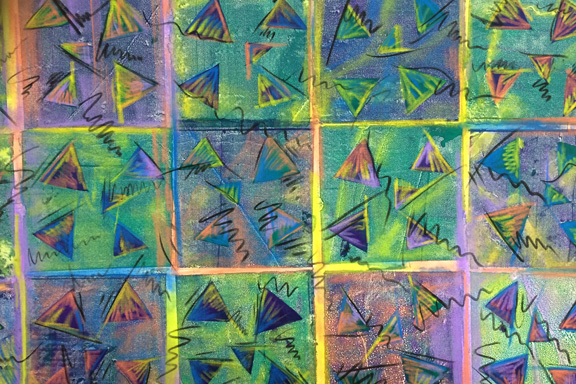
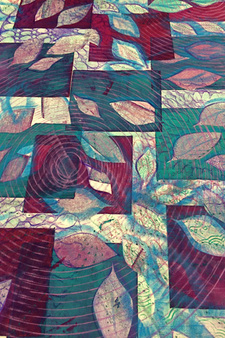
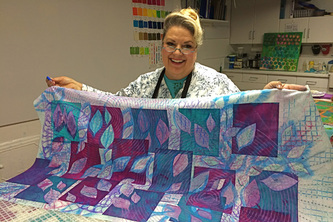
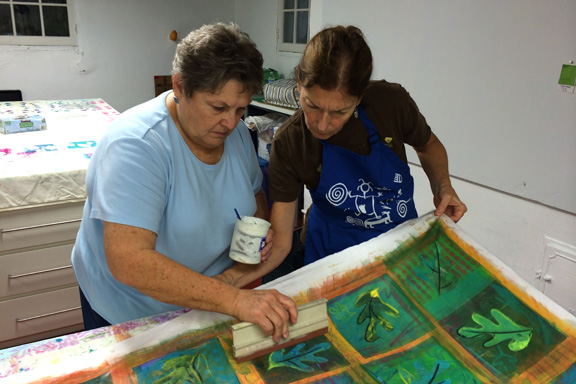
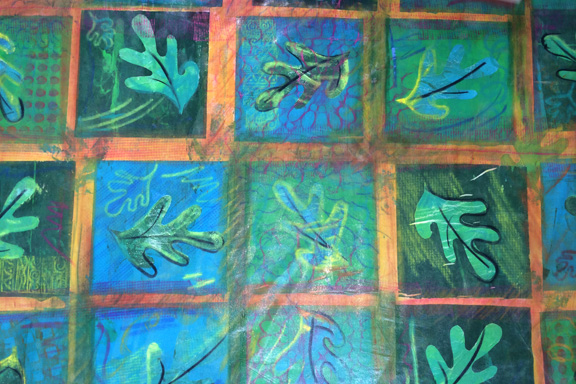
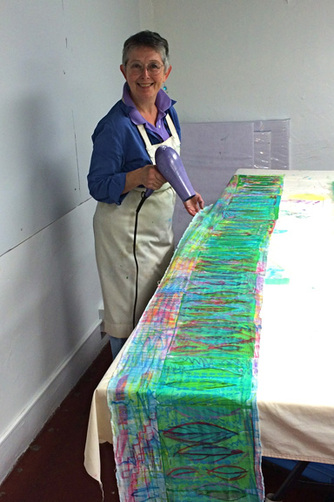
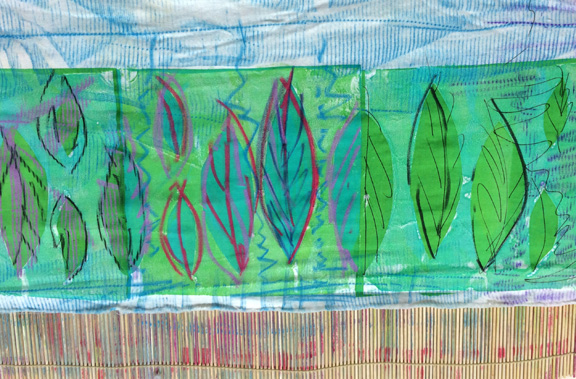
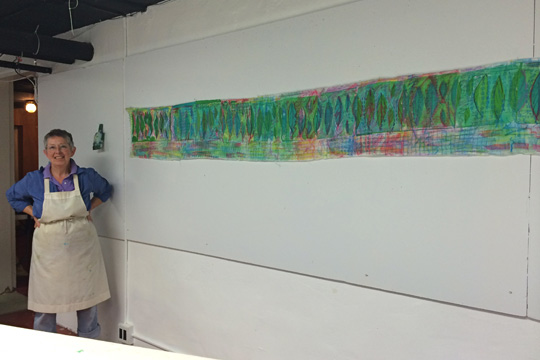
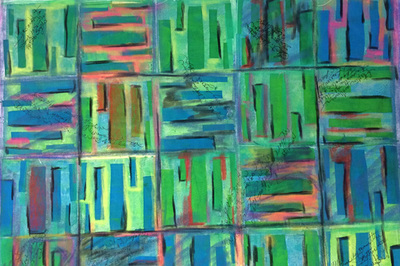
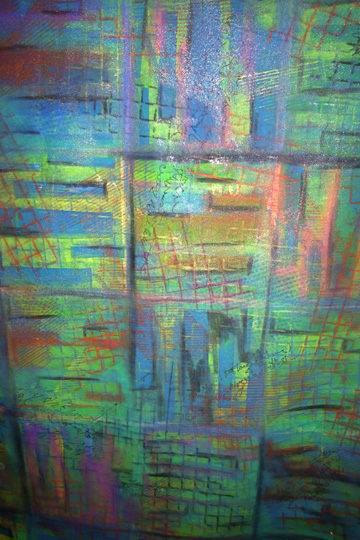
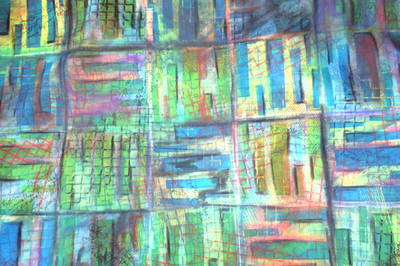
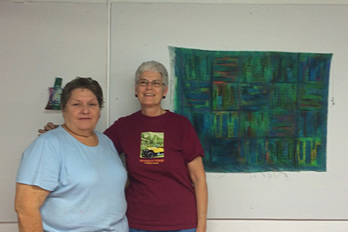
Textile paints are screen printed on fabric, embellished with pastels, charcoal, crayon and sealed to prevent the "fugitive" media from smudging. This a a great technique for creating wall pieces. Susie is a knowledgeable and gentle teacher. Information on her many surface design classes are found on her website, susiekrage.com Susie's Panel Susie Krage Teaching and Demonstrating The best part of a workshop is the conversation and inspiration from the instructor and fellow artist! Sandy O'Brien, a marvelous quilter, shows her finished piece that begins with a four triangle screen print. Her use of pastels creates illuminating colors. Sandy sells her work in a variety of galeries, at the Ann Arbor Fiberarts Guild Sales, and outdoor summer shows. Jeanne Sarna begins her design with a leaf screen print. Jeanne's embellishments took her piece "outside the box"! I'd hang this piece in my house in a heartbeat. Jeanne is an established textile artist and jewelry designer. She has a workshop, “Fiber Jewelry: The FUNdamentals”, coming up January 24, 2015 with the Ann Arbor Fiberarts Guild. See details at www.annarborfiberartsguild.com Kathy Zasuwa and Susie are applying base extender to preserve the design. Kathy commented that she enjoys putting surprise and detail into her work. Kathy is a skilled weaver and textile artist. She speaks to groups on the process of creativity. Jennifer Gould silk screens and embellishes a long panel of highly decorated leaves. Leaves are often a part of her design expression. An experienced textile artist and doll maker, Jennifer's work can be found on jennifergould.com. My piece: Screen printed rectangles in green and blue textile paint - Second layer coloring with pastels -Third Layer texturing with pastels, charcoal and crayon - Fourth layer "writing" with a gel roller. I had a great time exploring this technique and I look forward to "playing" with my fiber, paint, and pastels in a future project. It's always fun to learn a new technique with a great instructor and good friends.
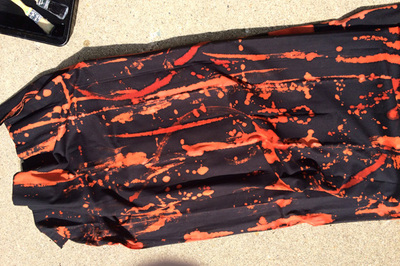
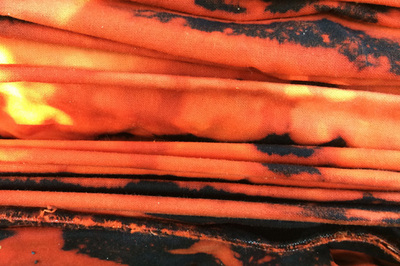
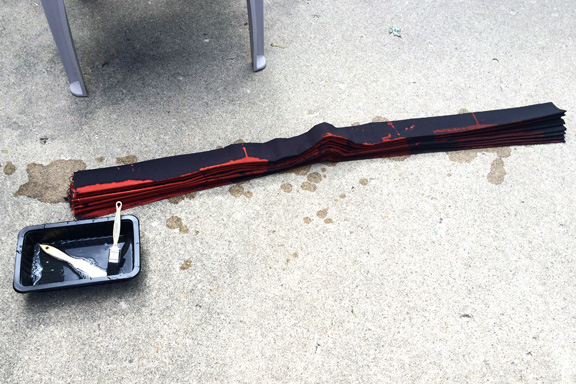
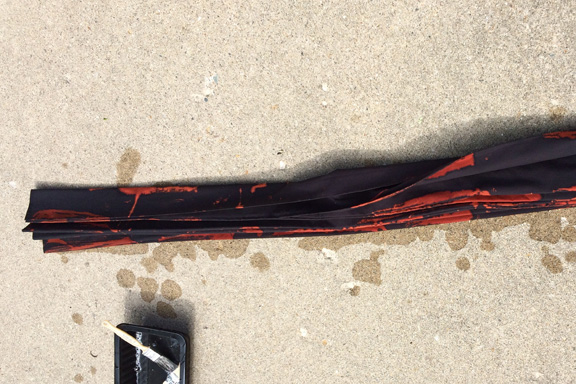
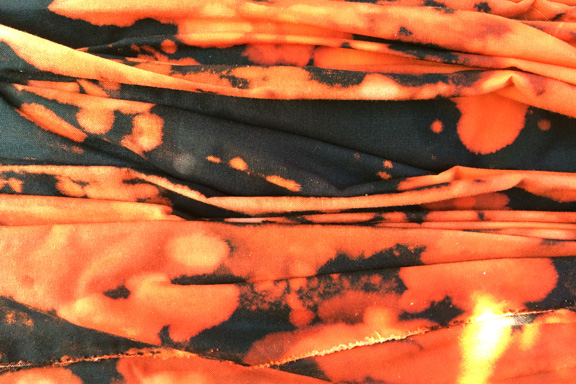
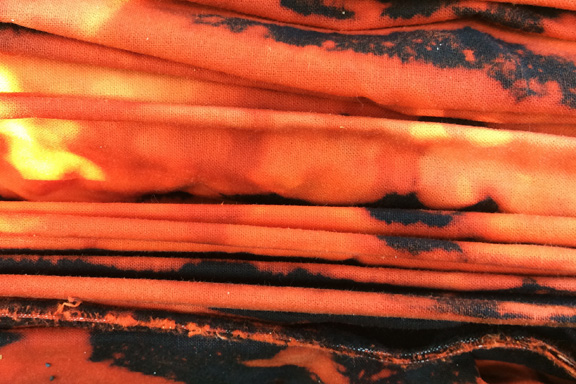
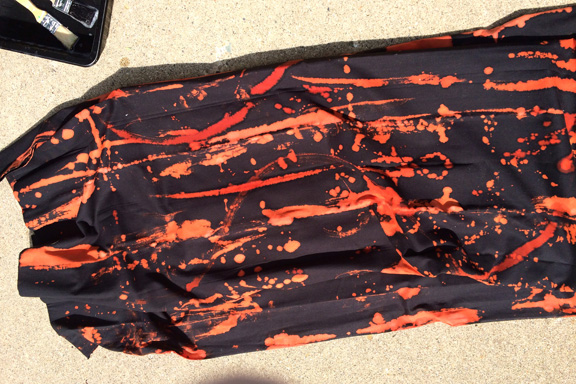
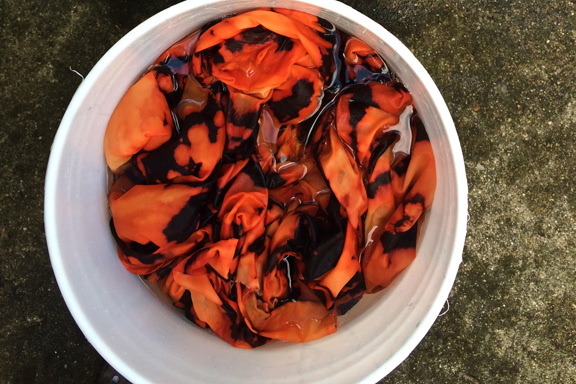
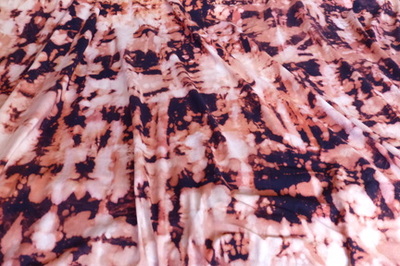
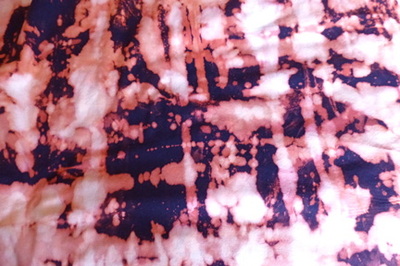
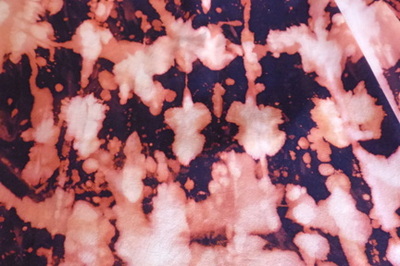
I just finished a two-day session of discharging color on several yards of fabric. I had in mind a three-day session, but alas a hornet sting I received while working outside applying the bleach mixture ended my session abruptly. The rest of the fabric will have to wait for another group of sunny days. When applying a 50% bleach/ 50% water solution I work outside guaranteeing good ventilation. I also wear a good ventilating mask. It's just too hard on the lungs to spray or paint bleach for several minutes, let alone hours without protection. FIRST PROJECT / FIRST DAY I prepared a 100% black cotton fabric, 90" x 3 yards, by ironing it and then folding the fabric accordion style and ironing in the folds. It's a little tricky with so much fabric. Outside as I paint the edges of the black fabric, the color changes almost instantly. The longer the bleach sits on the fabric the lighter the color becomes. As I add more bleach solution, the colors begin to mingle with each other creating various shades of orange, orange/yellow and yellow/cream. I begin to open the folds, painting and dripping the bleach solution directly on the fabric. As I open the folds of the fabric, I continue to paint and drip the bleach solution. I wash my fabric in the washing machine to remove the last of the bleach. The process softens the colors, though the fabric is a brighter orange than these photos show. I create this type of fabric in the spring, summer and fall, but often wait until cold and rainy weather to sew the fabric into garments.
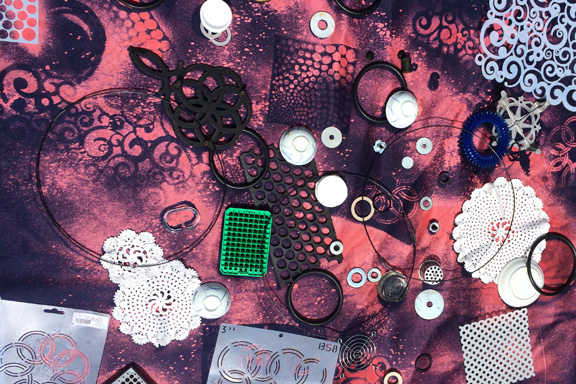
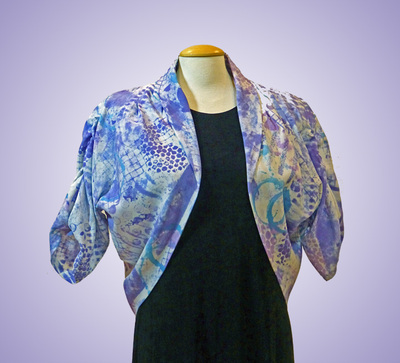
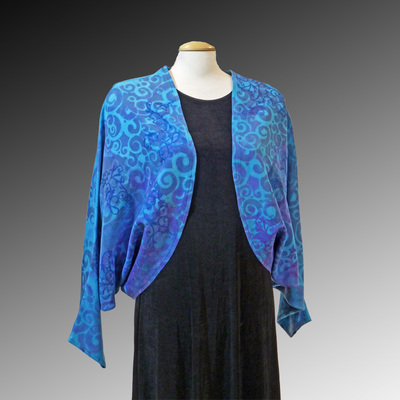
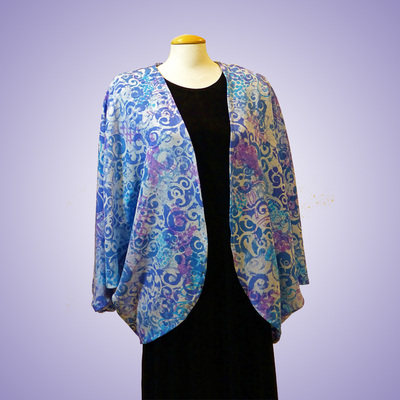
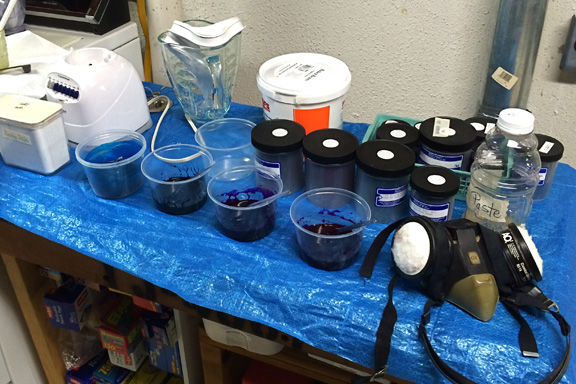
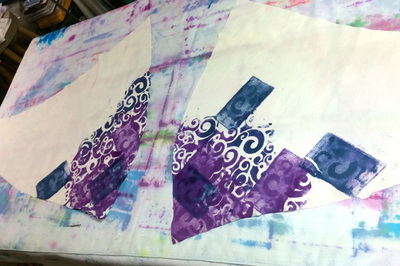
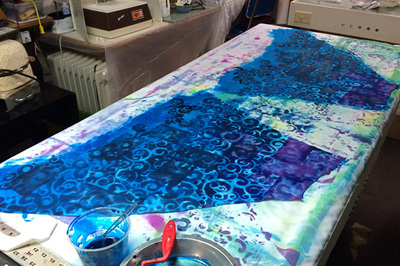
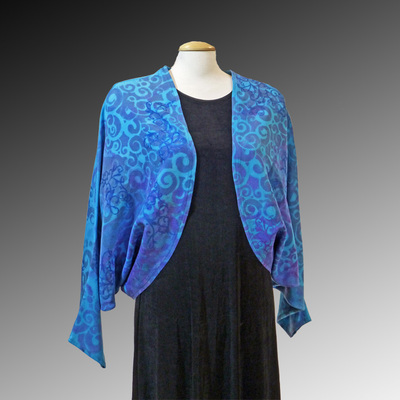
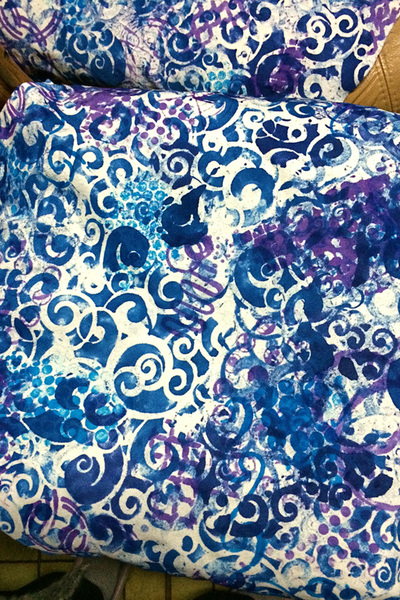
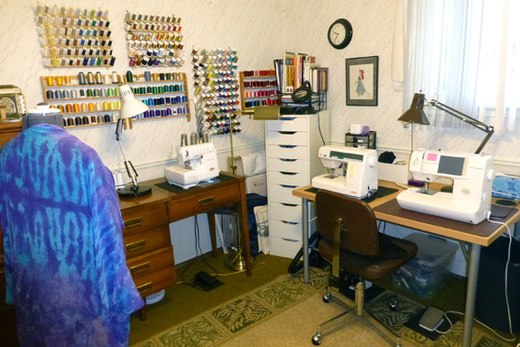
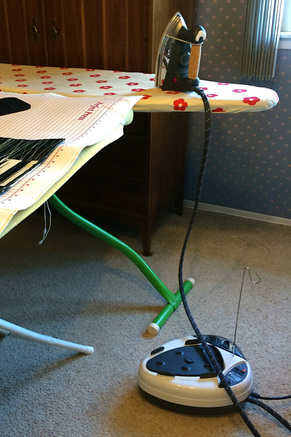
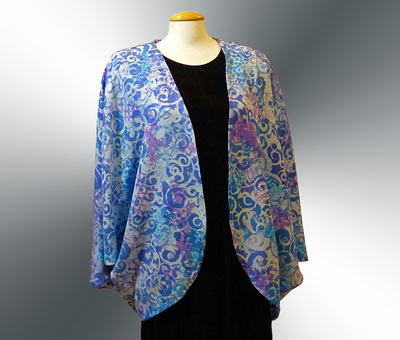
Discharging by spraying over lace, kitchen gadgets, keys, stencils and variety of found object...to be discussed in my next blog. The joy of thickened dyes!I take great pleasure in working with PRO MX Reactive Dyes. They can be made into a printing paste by blending with baking soda, soda ash, urea and sodium alginate. (Directions for using these chemicals and dyes can be found on the Pro Chemical & Dye website.) The fabric of all three jackets shown is a silk/wool blend and has been cut to pattern prior to dyeing. The short shrug jacket has been stenciled and stamped with found objects. The short kimono style jacket is silk screened, stenciled, stamped and rolled with the thickened dyes. The long kimono style jacket is stenciled in blue, turquoise and orchid dyes. Once the fabric is dyed, set, washed and dried, it's off to the sewing room! Love my Baby Lock and Elna sewing machines, Baby Lock serger, Reliable steam Ironmaven and all the colorful threads! These tools make the construction of my garments so much easier. Detailing adds to the design. The 3/4 sleeves on the shrug jacket are gathered along the arm of the sleeve with elastic and are pleated at the hem. I sew the jackets with French seams and careful hemming. Then they are ironed/steamed to give a professional finish!
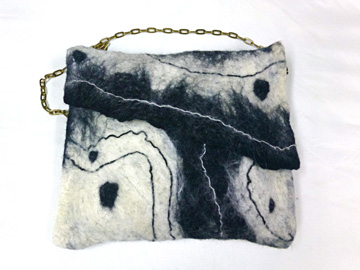
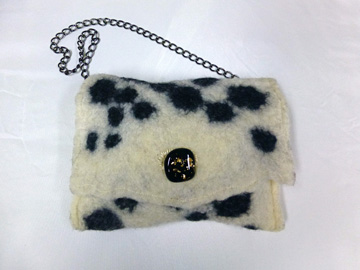
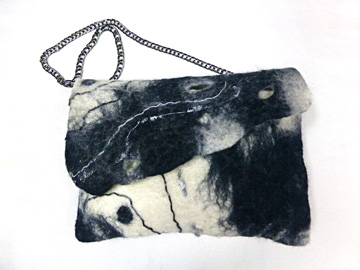
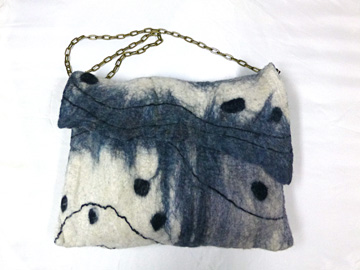
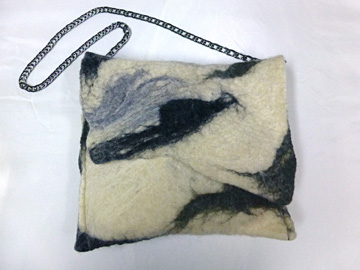
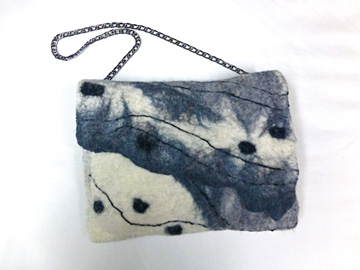
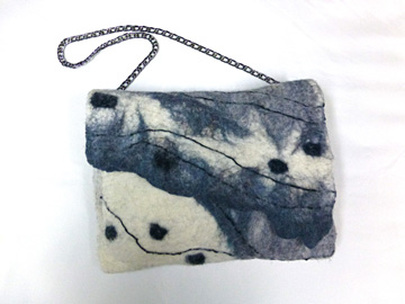
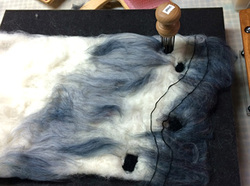
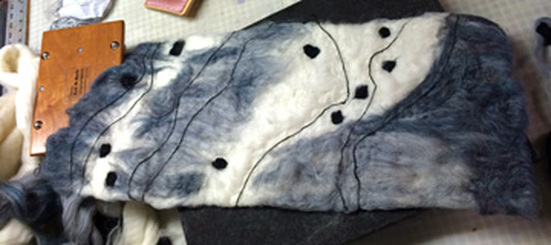
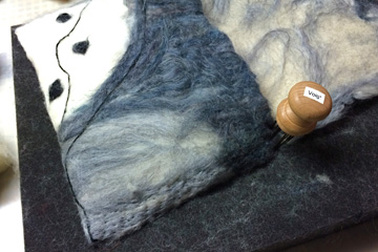
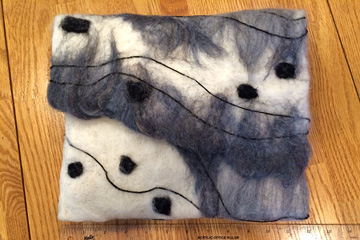
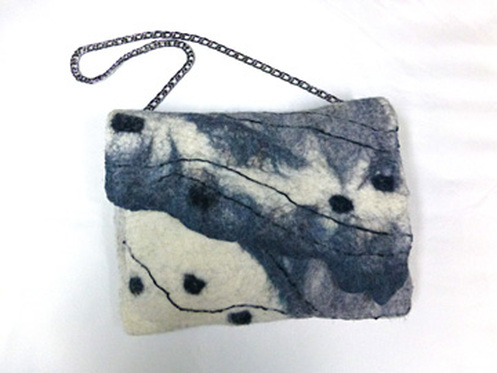
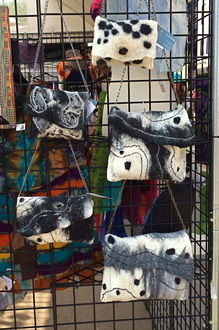
There are various ways to make a felted bag. This is my favorite way!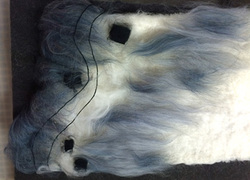 1. This purse is made in an envelope style. I cut wool batting into a long rectangular shape a little larger than I want the purse to be. This allows for shrinkage. 2. I place the batting on a piece of 2 or 3 inch stiff foam large enough to work on the project. 3. Layers of wool roving, yarn and pieces of pre-felt are placed on top of the batting. I make and cut the pre-felts into shapes ahead of time. 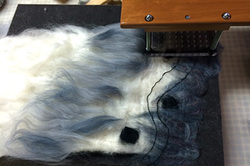 5. Using a 100-needle felting tool, I felt the wool, yarn and batting into one piece of fabric. 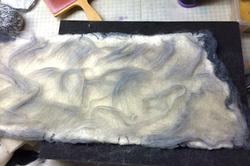 6. More wool is added to the inside of the purse and needle felted with the large felting tool. 7. I make one or more pockets and needle felt them into place with my 9-needle tool. The purse is shaped, has pockets and is ready to wet felt to give the purse strength. 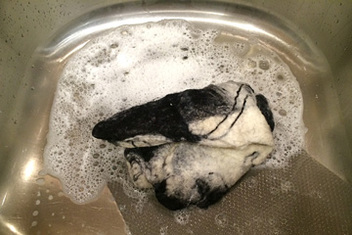 10. Wet Felting/Fulling Hot water, a textured surface, soap (My favorite is the Original Dawn dishwashing soap.) and lots of rubbing, squeezing, throwing and re-shaping shrinks the purse and makes it sturdy. The Finished Piece!
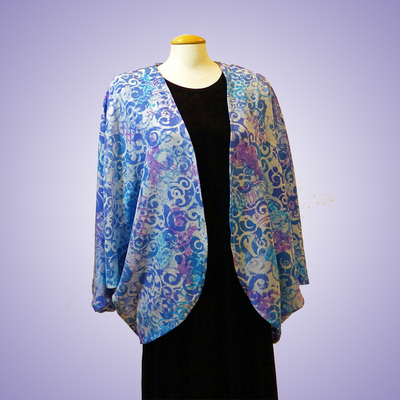
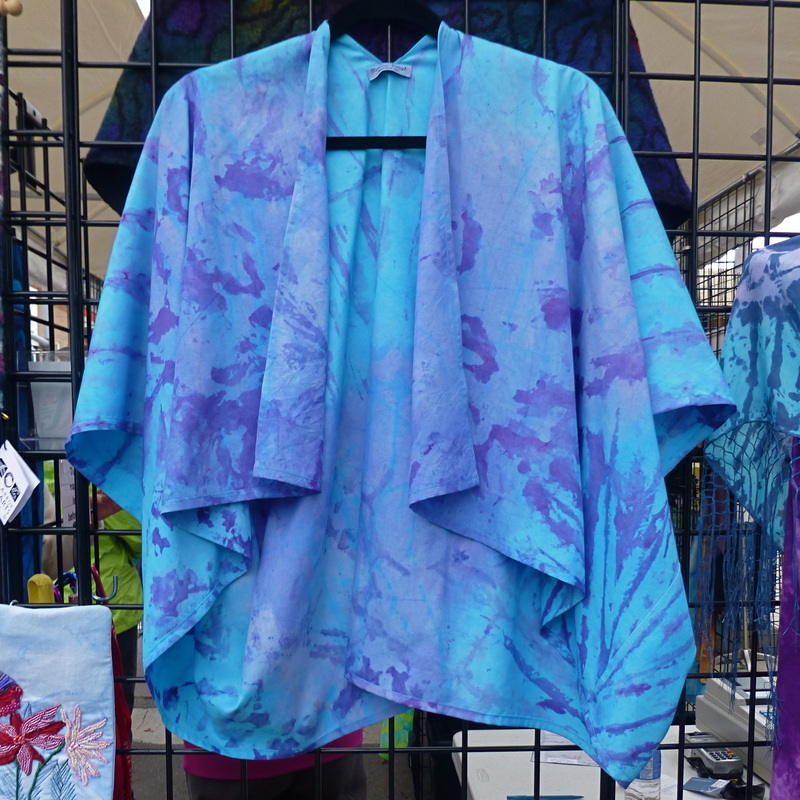
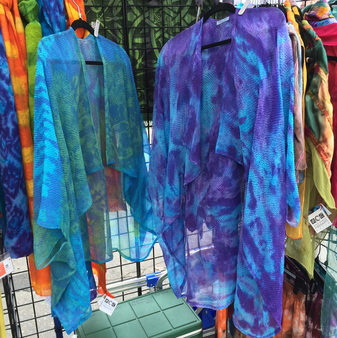
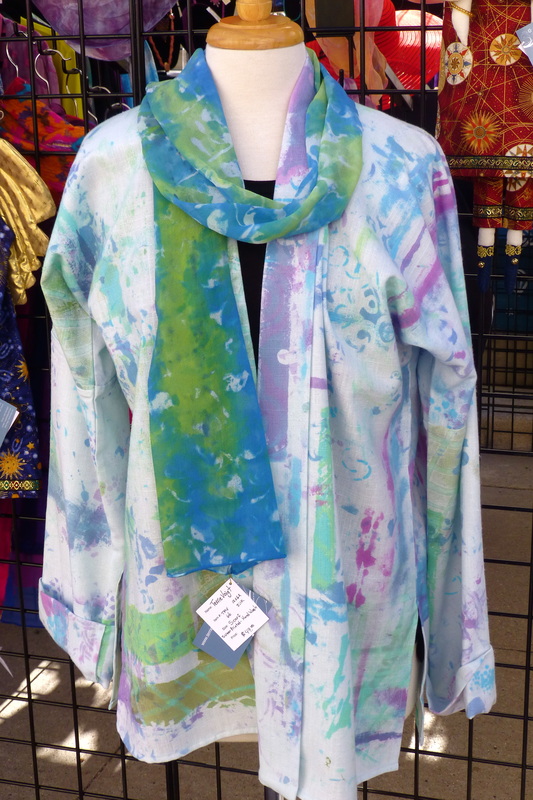
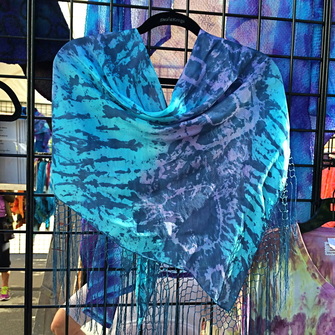
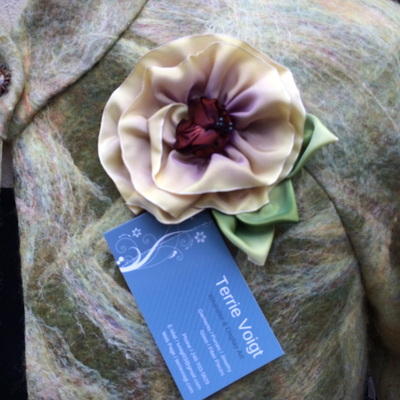
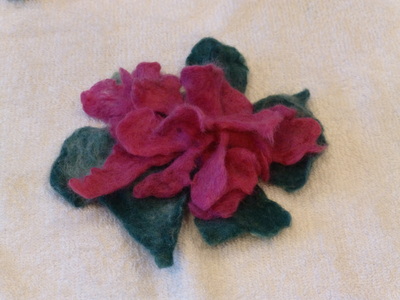
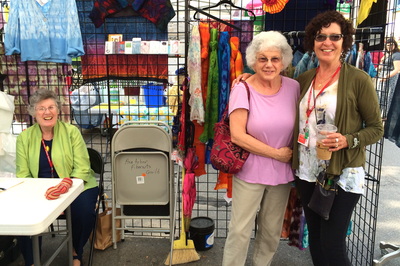
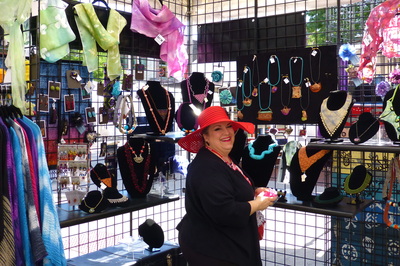
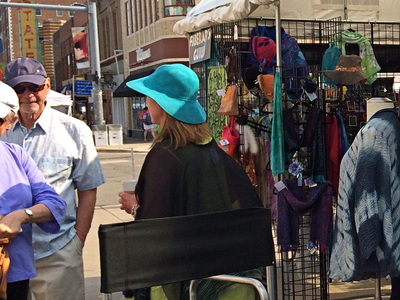
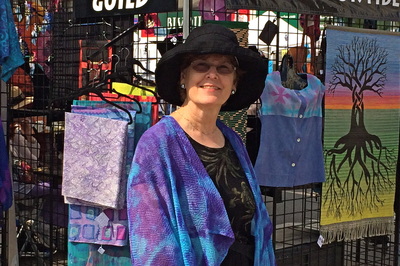
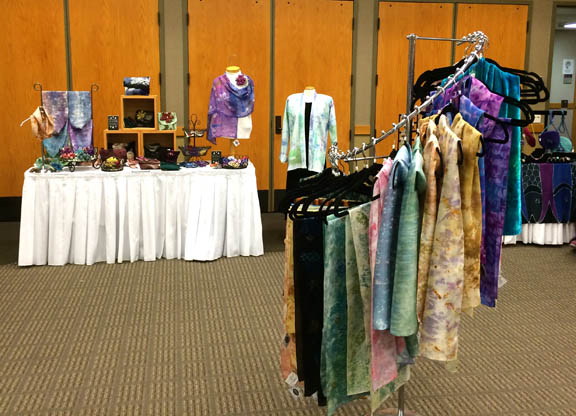
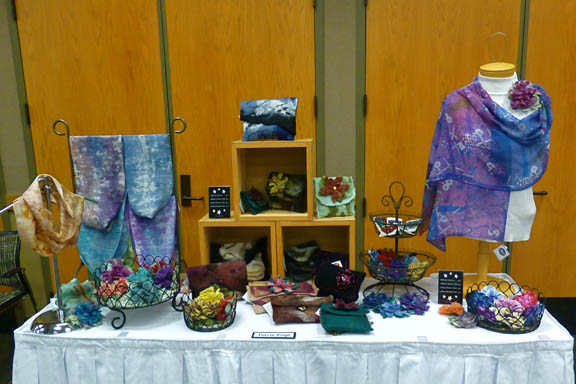
I brought several garments to the show. All three silk jackets shown below are the same style with the drape in the front, but three different lengths. The first is jacket is made with china silk and the longer jackets are a bubble-textured gauze silk. The jacket shown below is dyed in blues, purples and greens and is a linen/polyester, making it wrinkle resistant. It's a great travel jacket. The scarf is silk gauze. The fringed shawl is habotai china silk. And the small items! Ribbon and Felted Flower Pins Beaded Felted Pins We all had a great time. Nothing like an art show to bond a group of artist!
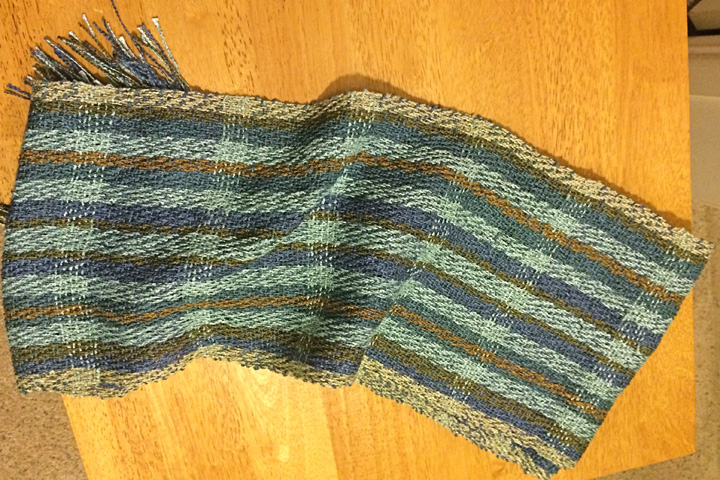
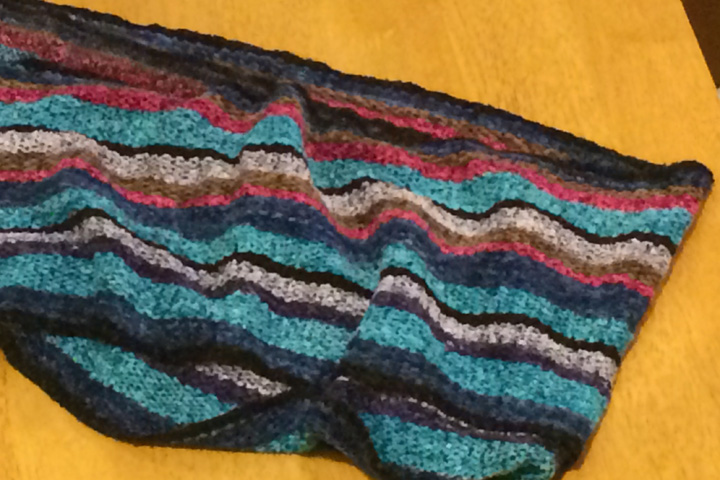
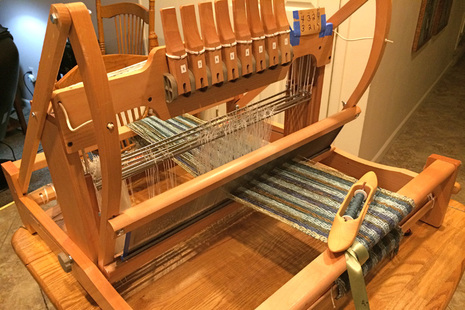 I've owned my Ashford Table Loom for a year and a half, but never wove on it. It needed a little assembly and is different than my floor loom. The table loom has string heddles and hand controls instead of floor treadles. I decided it was time to tackle the loom. 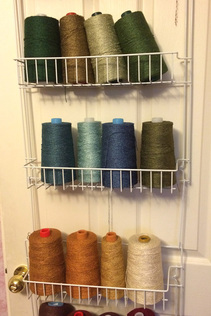 I unfolded it, read through the assembly directions, and saw what still needed to be done. (Most of the loom was assembled when I purchased it used.) Turned out setting up the hand controls was easy and everything else fell into place. I chose some lovely yarns from my stash to make a scarf. I particularly love the color and texture of these rayon cones hanging in my Loom Room. 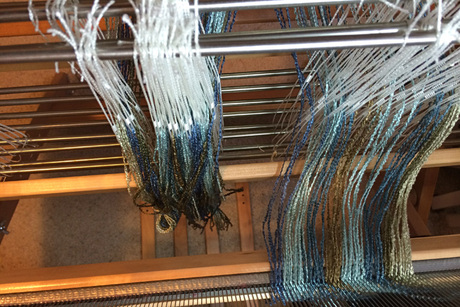 I found threading the string heddles to be a little more challenging than threading metal ones. They don't slide easily along the bar and it's a little tricky pulling the yarn through the holes. But I'm confident, the more I work with them, the easier it will be to thread them. First Project off the Table Loom Next Project to tackle:
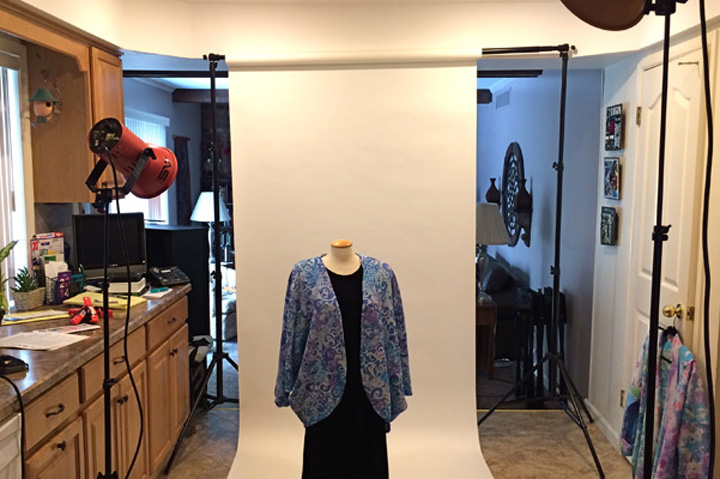
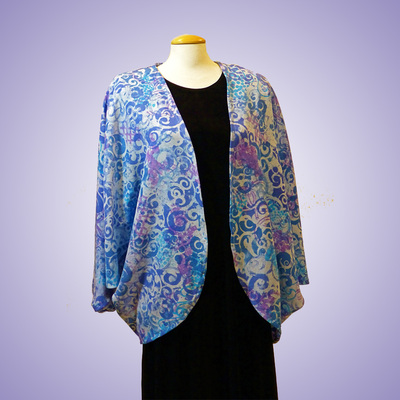
This loom comes with a stand, four floor treadles, and a second back beam. It's a wonderful 24 inch, eight shaft loom, just need to figure out how to assemble the treadles and second beam. It's a challenge to photograph garments. My husband and I have devised a system of lights and a photographer's backdrop. 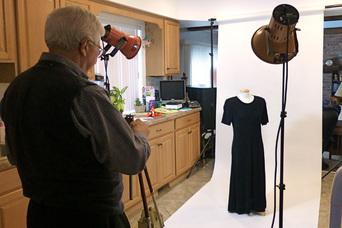 With digital camera and tripod we decide on the settings and take several shots. 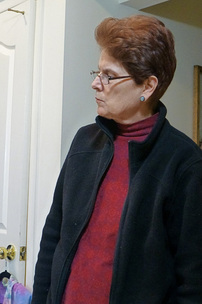 We analyze the shots, retaking them when necessary. 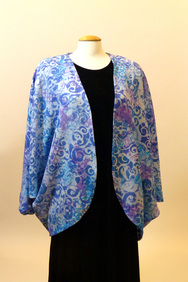 The Raw Shot The image is lightened in Photoshop to match the garment's true color. Different backgrounds highlight the garment. Then photo is sized to go on a web page.
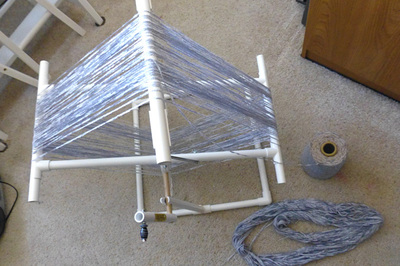
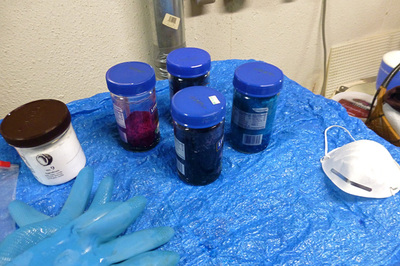
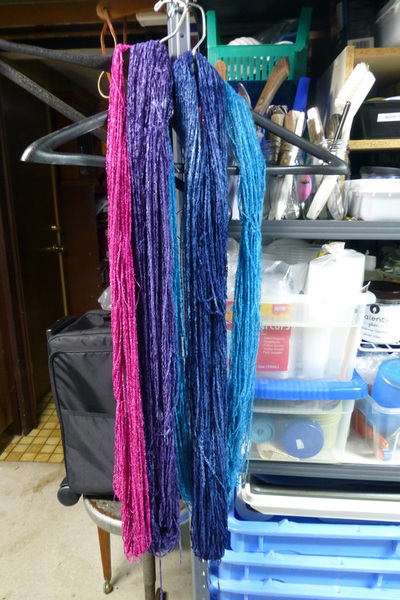
I'm learning the process. Most of the Photoshop techniques still elude me. Fortunately, my husband, Kent, and daughter, Tobi, work the magic and are great teachers! 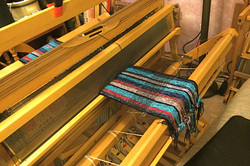 When taking a class I like to work on similar projects on my looms at home. It helps reinforce what I am studying in class. Here is a chenille scarf on my Schacht Might Wolf. I found I had too few colors in chenille to make a colorful scarf, so I dyed a grey chenille. I love ProChem dyes, a little soda ash, salt and warm water! Finished Scarf
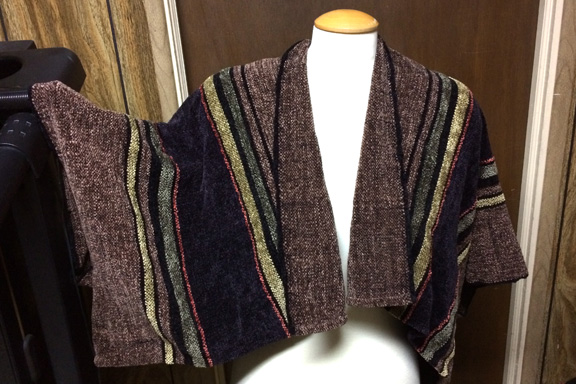
Chenille Jacket Completed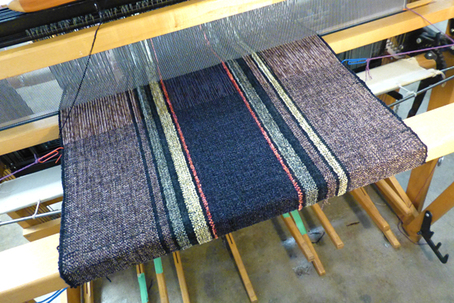 Last week the fabric was on the loom. 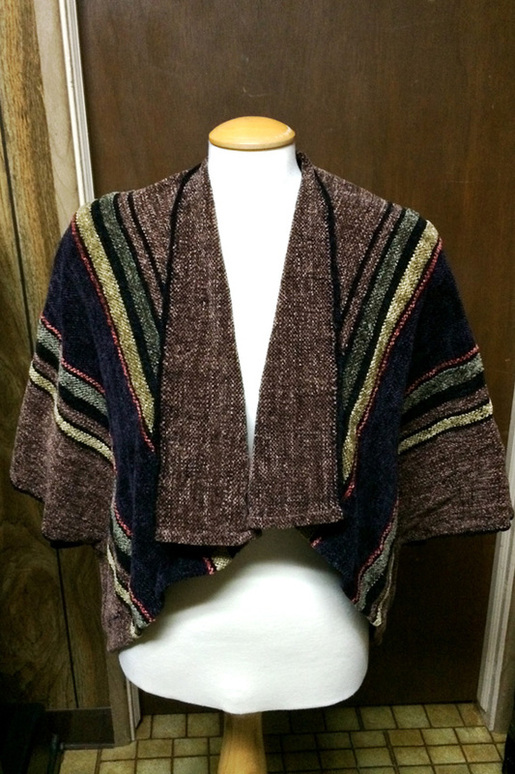 Finished Jacket 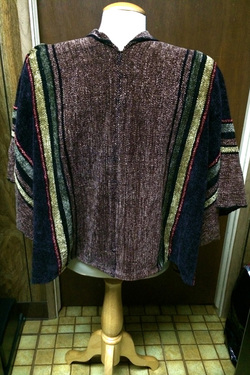 The fabric was cut in half, joined at the selvages at the back and the sides. It's a simple pattern, but not easy with handwoven chenille. Chenille can be a challenging fabric. It tends to unravel so easily. The mending zigzag on the sewing machine worked best to keep the chenille fabric from returning to yarn! 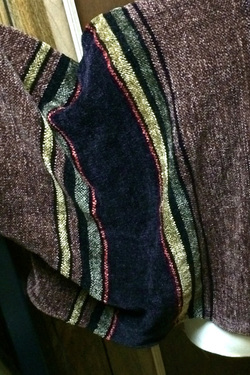 Detail of the sleeve 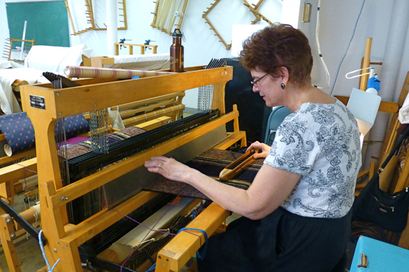 When tackling a new skill, sometimes the best way is to take a course! Last winter I bought a Schacht's Mighty Wolf loom and it was a little overwhelming! I took a weaving class at the Birmingham Bloomfield Art Center in Birmingham, MI. This spring I was awarded a grant from the Ann Arbor Fiberarts Guild to continue my studies. Now I'm back at the BBAC to learn how to work with chenille yarns and make a sampler of weave structure 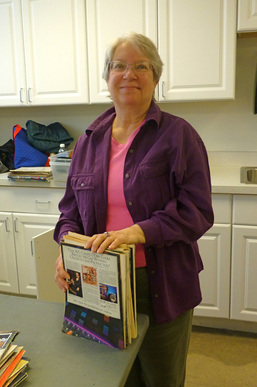 My instructor, Sue Walton, is knowledgeable, clear in her instruction, unflappable and able to solve or redirect any weaving problem. Perfect! 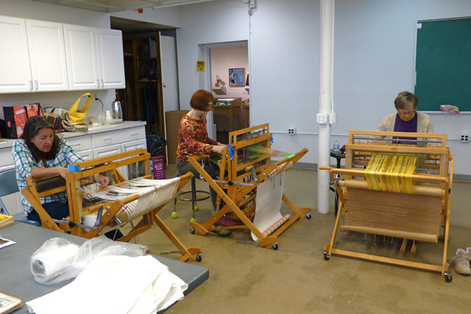 In the classroom setting you learn from the other students and watch how their projects are created and woven. Several of the women in my class are longtime, talented weavers. It's so inspiring! 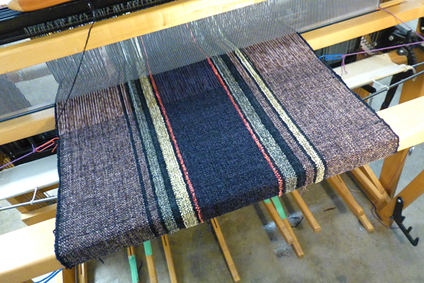 My First Project: Chenille fabric for a short jacket. The fabric has a great feel and drape and I'm pleased with the color. I expect to have the fabric off the loom this week. The next challenge is to cut and sew the fabric into the jacket I have in mind. Thank goodness I have a serger sewing machine to finish edges! Next post? Perhaps I'll be showing a finished jacket. No pressure though. It's all a learning process.
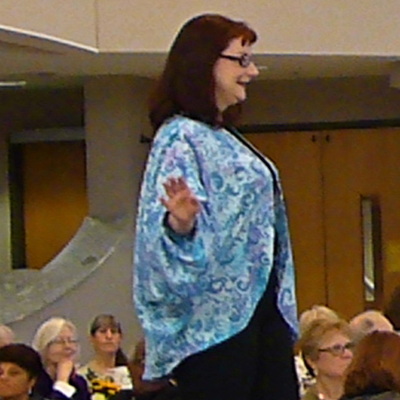
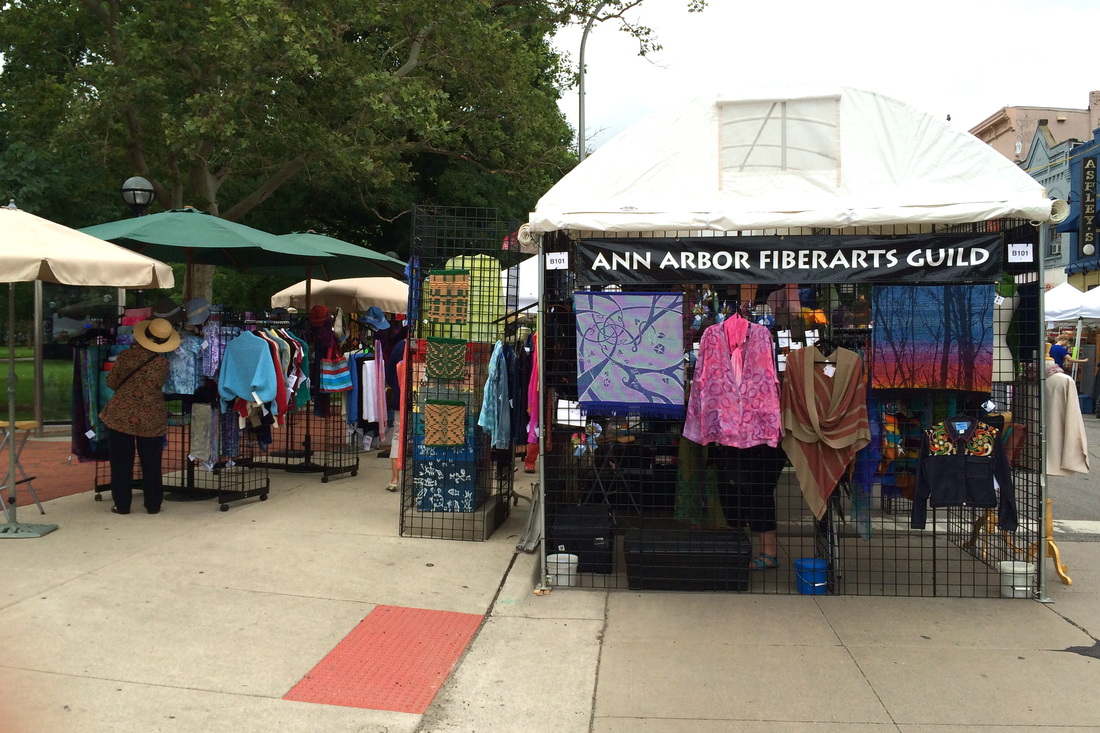
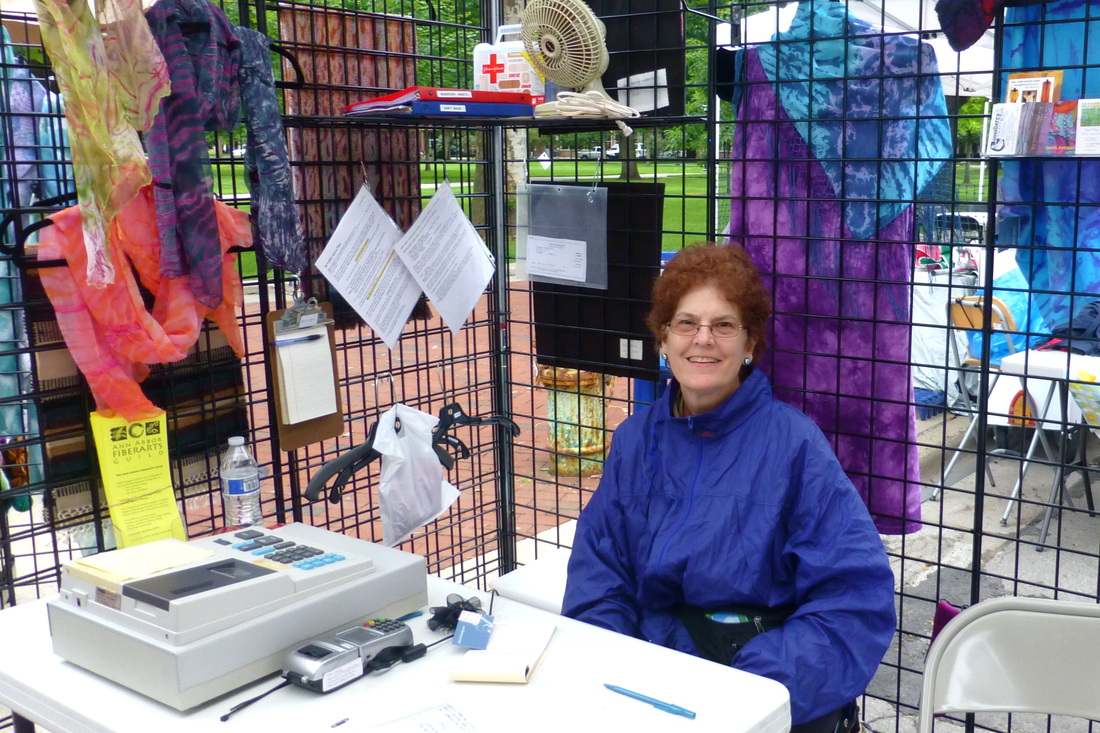
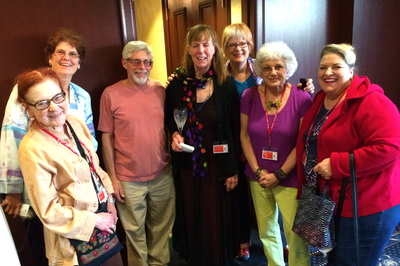
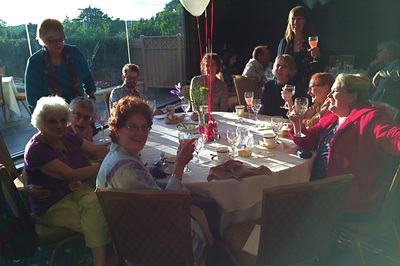
It's a joy to participate each April in the Ann Arbor Fiberarts Guild Spring Luncheon and Fashion Show, called Fiber Feast. Over three hundred women and men enjoy a luncheon followed by a delightful fashion show of garments, scarves, hats, purses and fiber related jewelry. The wearable art is created by the members of the guild. This is a highly anticipated event that sells out quickly. 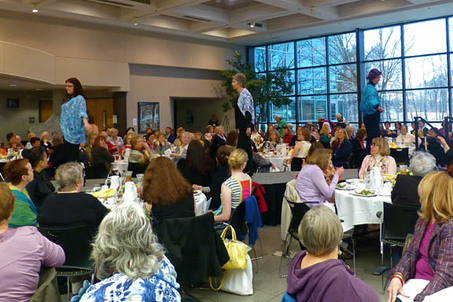 Three of my silk jackets on the runway. The jacket on the far left is a long kimono style jacket - silk/wool blend - stenciled, stamped, painted, and sponged with thickened dye. 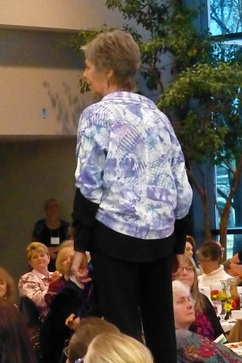 This is a short shrug style jacket - silk/wool blend - Stenciled, stamped, painted, and sponged with thickened dye. 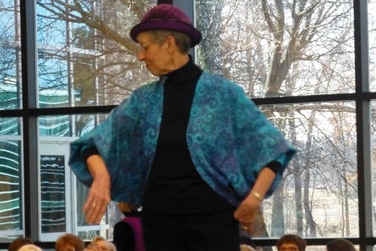 Short Kimono Style Jacket - silk/wool blend - Silk screened, stenciled, stamped, painted, and sponged with thickened dye with additional fabric paint stenciled over the dye. 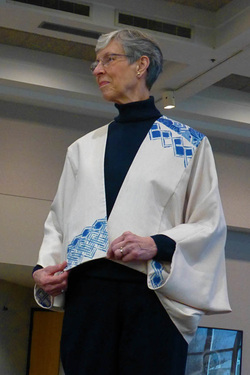 Kimono Style Jacket - Silk screened, stenciled, stamped, and painted with fabric paint. The event includes a Sale of guild member's fiber work. My area includes showing my scarves, jackets, purses, and flower pins. The Fiberarts Guild has three sales a year. Our next sale is July 16 - 19 at the street art fair in Ann Arbor. The Guild booth, B101, is at the corner of State Street and N. University Avenue in Ann Arbor, Michigan. Wearable art, tapestries, dyed yarn and roving, and other fiber art will be on display. The Holiday Sale is November 8th at the Washtenaw Community College in Ann Arbor on East Huron River Drive. All the fabulous art will be there along with gift items for the holidays. Fiber Feast next year is April 18th also at the Washtenaw Community College in Ann Arbor. Information about upcoming sales and events can be found on the Guild website: annarborfiberarts.org and www.facebook.com/pages/Ann-Arbor-Fiberarts-Guild/190888982326.  Ann Arbor Street Fair, Ann Arbor, Michigan – July 16-19, 2014 Holiday Sale, Washtenaw Community College in Ann Arbor, Michigan – November 8, 2014 Fiber Feast, Washtenaw Community College in Ann Arbor, Michigan – April 18, 2015 |
Categories
All
AuthorI am Terrie Voigt, and I'm a textile and glass artist. I create art in both mediums and at times combine textiles with glass to create multi-media pieces or wearable art with glass closures. |

 RSS Feed