Thank you, Sandra, for a wonderful two day workshop and a new way to crochet!
|
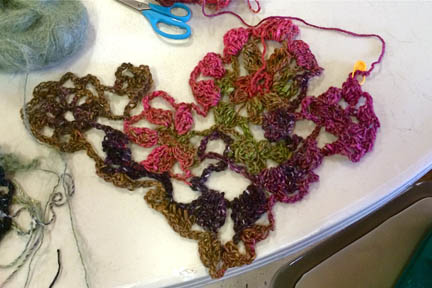
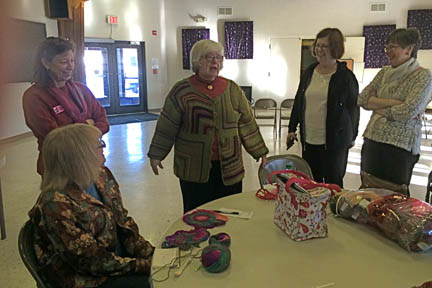
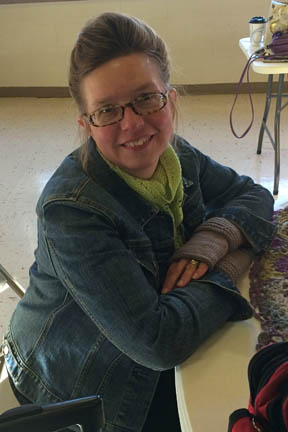
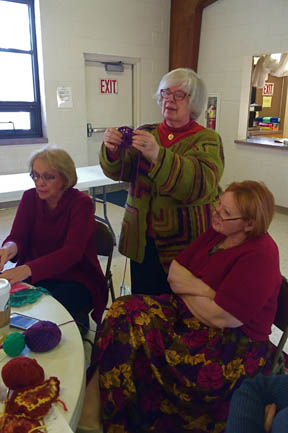
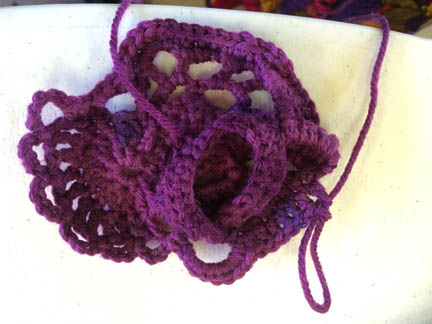
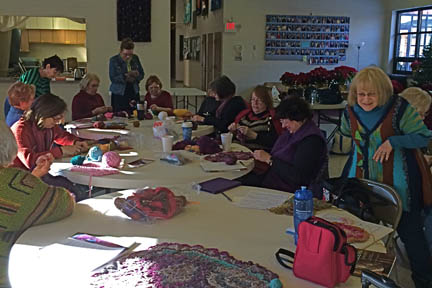
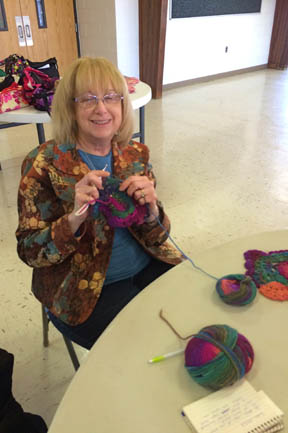
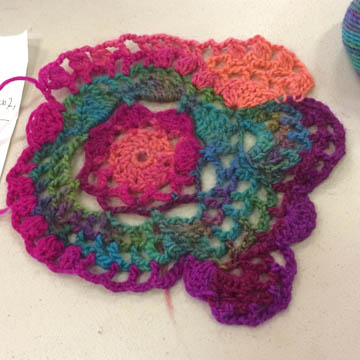
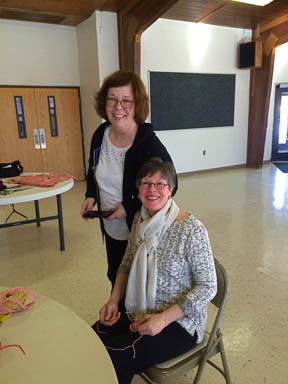
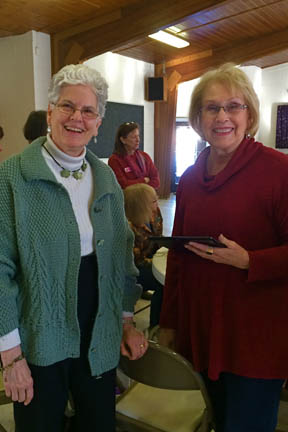
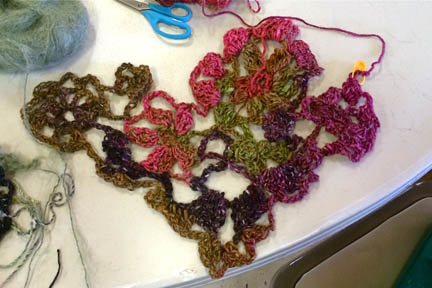
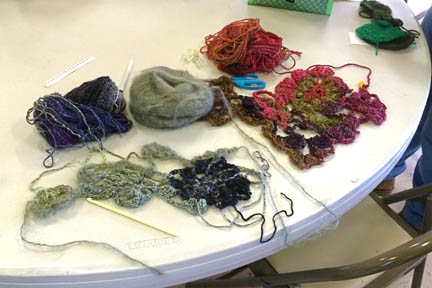
The Needlework and Textile Guild of Michigan invited Sandra VanBurkleo, owner of the wonderful yarn and button shop in Farmington (MI) - Artisan Knitworks, to teach us crochet. But not just crochet - random, creative, three-dimensional crocheting. She showed us beautiful shawls, vest, hats and sweaters that are truly "works of art". Sandra explained and demonstrated the process. She and Ellen, her store manager, assisted us with our many questions. Sandra is showing Sharon Mckenna's 3-D piece. Sharon is one of the talented employees of the shop and a long-time member of NTGM (Needlework and Textile Guild of Michigan). I found the random crocheting to be freeing and formidable all at the same time. Everyone in the class stayed focused on our task. Lunch break? Who has time to take a lunch break? The work begins to take form. Barbara is working in lovely jewel tones. We take a quick break for a few photos. Here is the beginnings of my piece, a wrap or a ruana. One thing is for sure, it will be wild and colorful.
Thank you, Sandra, for a wonderful two day workshop and a new way to crochet!
3 Comments
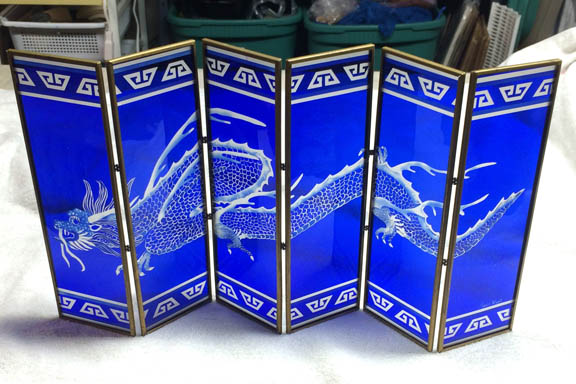
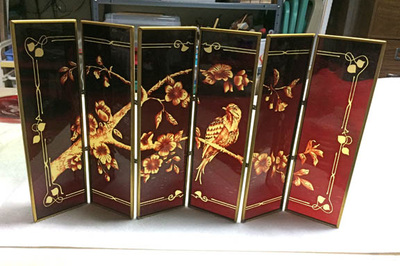
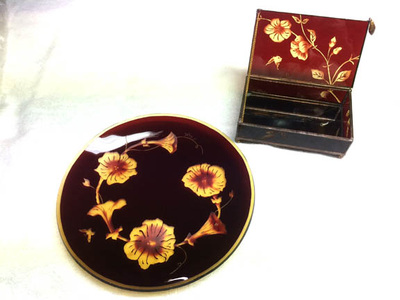
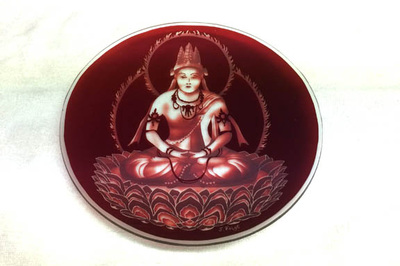
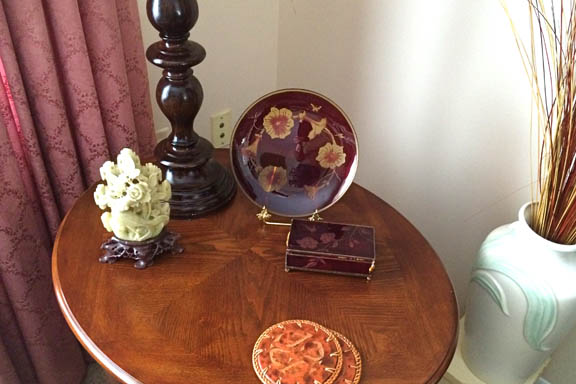
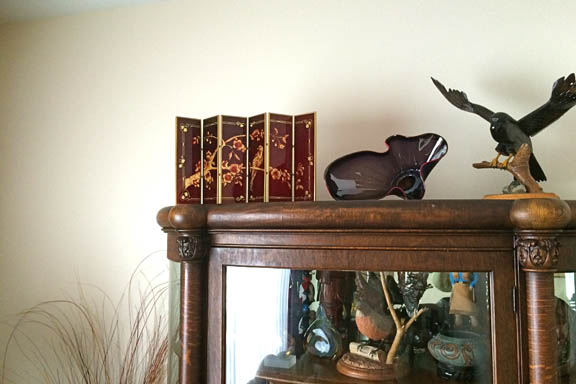
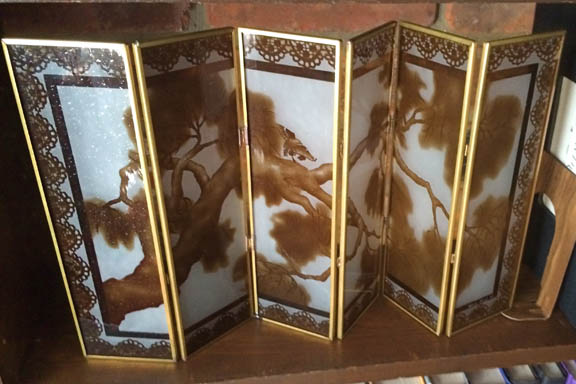
I made this piece years ago. "Blue Dragon" is a favorite of mine. It's in my studio because it needed a little repair. Two solder joints came loose. It's repaired and goes back to the owner this weekend. Working with the dragon reminded me how much I enjoy working on these pieces. 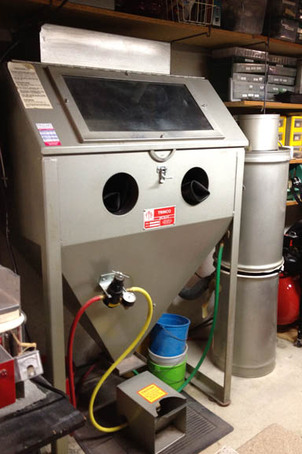 This glass, made in France, is two colors, blue on top of clear. One layer glass is sandblasted away and reveals the color underneath. I use layers of contact paper for the protective mask. I cut the design out with an X-acto knife. Very tedious work, but it's worth the effort. Only parts of the mask are removed each time the piece is sandblasted. The deeper and whiter parts of the design were taken off first - the border, wings, horns, whiskers, and teeth. The last part to be removed was the face. The light dots on the face were applied with a fine sandblasting nozzle. I don't use sand, but 220 aluminum oxide blasting medium. It is much finer and allows for great detail. I have a good booth, vacuum and ventilation system, a compressor, an excellent mask and ear protectors. So much equipment to make something so small and delicate! I took some of my pieces out of storage. And decided to put a few around the house.
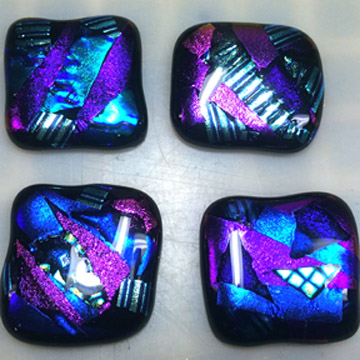
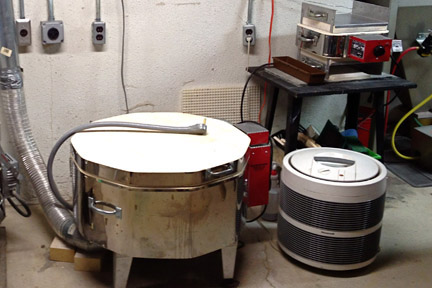
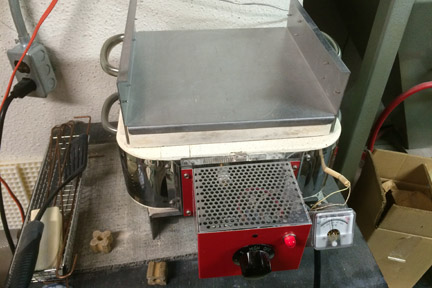
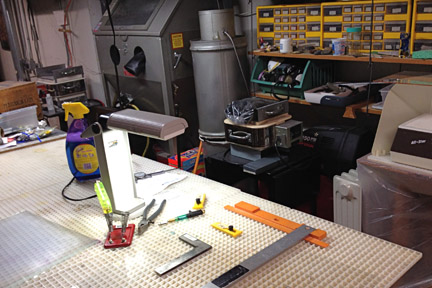
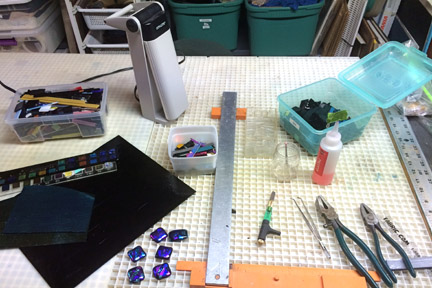
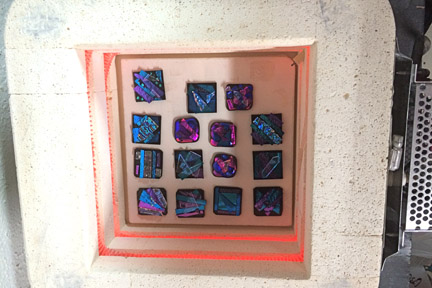
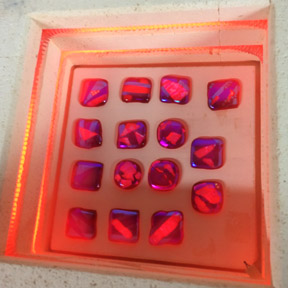
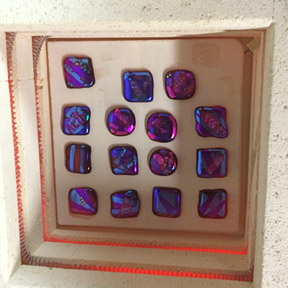
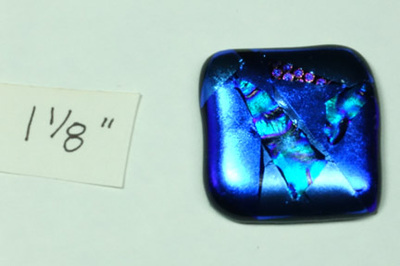
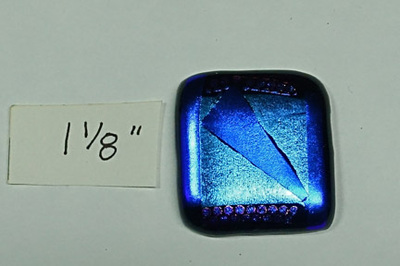
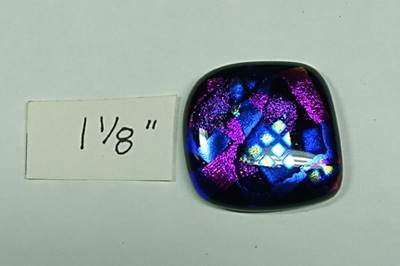
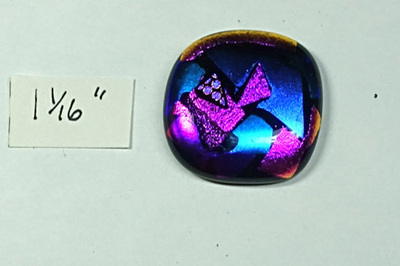
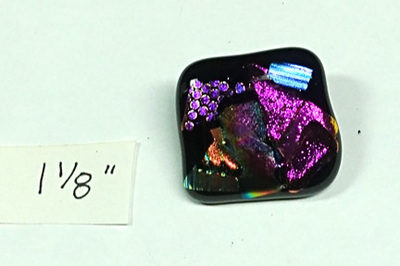
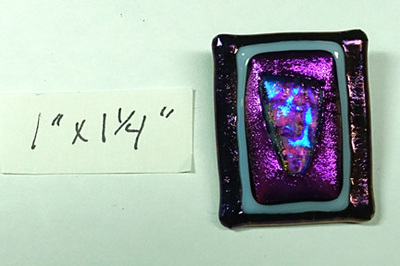
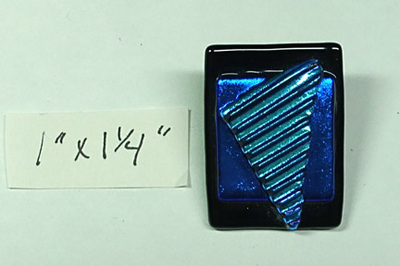
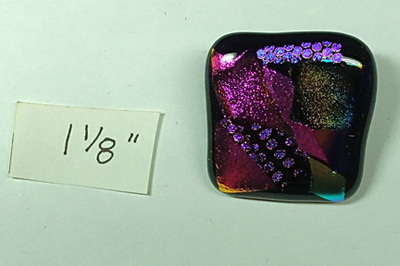
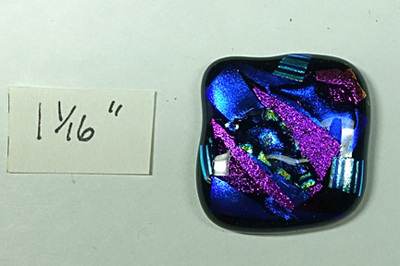
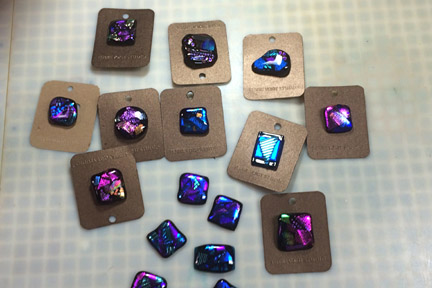
I had a small order to fill over the holidays. Usually I use my large kiln when I work with the glass, but with this order I only needed one of my small kilns. Each button is cut from compatible art glass, meaning that each piece of glass must expand and contract at the same rate during the melting and cooling process to prevent breakage. I built the buttons on a piece of thin black glass and added layers of dichroic glass (glass that reflects vibrant colors that often change as the light hits it). Melting of the glass: The pieces are set on a prepared kiln shelf. The kiln is heated up to 1400 - 1450 degrees F. In this photos the heating is just beginning. There is usually no sign of melting until the temperature of the glass reaches over 1350 degrees. The glass is checked periodically until the desired effect is reached. Once melted the glass layers now act as one piece of glass. The glass is cooled until its red glow eases into vibrant colors. The outside cool quickly, but the inside of the glass stays hot much longer. The temperature of the kiln is controlled to allow the glass to cool slowly and as evenly as possible to prevent breakage (annealing and thermal shock). The sizes of these buttons vary from 1 to 1 1/4 inches round or square. Samples of the project. The glass pieces are cleaned, shank applied, carded and ready to mail!
|
Categories
All
AuthorI am Terrie Voigt, and I'm a textile and glass artist. I create art in both mediums and at times combine textiles with glass to create multi-media pieces or wearable art with glass closures. |


 RSS Feed