
I had the extraordinary opportunity to take two workshops, back to back, called "Catching the Fugitive" with Kerr Grabowski. We worked with materials that usually are not good mediums to apply to fabric, since they wash out or fade easily. Charcoal, pastels, watercolors, colored pencils, graphite are now materials a fabric artist can use. Careful application of a transparent paint extender and proper heat settings make these products viable. I have worked with these materials before, thanks to a wonderful Michigan Surface Design Association workshop with Susie Krage, an outstanding fabric artist and instructor in her own right. I posted an article on that workshop, under the category, Surface Design With Paint and Pastels.

The Ann Arbor Fiberarts Guild hosted Kerr for a three day workshop, plus an evening talk at our monthly meeting highlighting her artist journey.
The workshop was filled with demonstrations on techniques applying each medium starting with black and whites: charcoal and graphite experimentation on white fabric. No color was allowed for the first full day, a challenge to artist who love color. However, it was a great opportunity to concentrate on line and form. It allowed me time to work with charcoal and graphite in new ways.
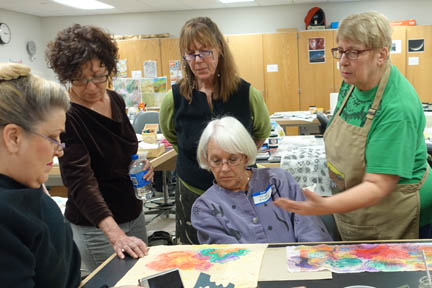
The next two days we delved into pastels, watercolors, water soluble crayons and colored pencils. Sandy Kunkle and Carol Futado were my table partners. We played like kids at a playground. What fun!
Kerr is known for her deconstructive screen printing. We saw demonstrations of this technique with soluble crayons and watercolors with some pretty fabulous results!
| 
|
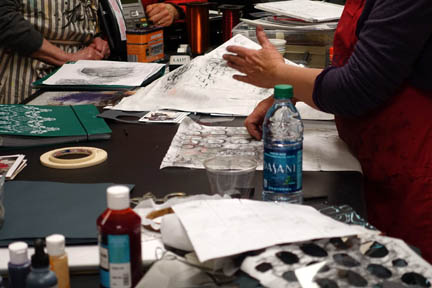
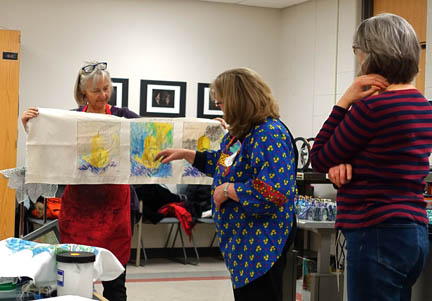
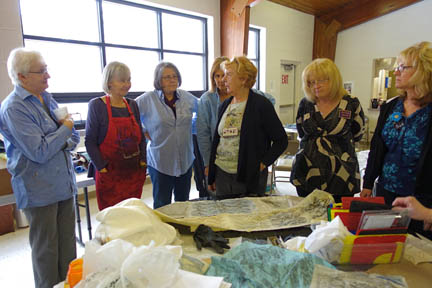
Important parts of the workshop for me were the individual guidance from Kerr and great group discussions about the work!
| 
|
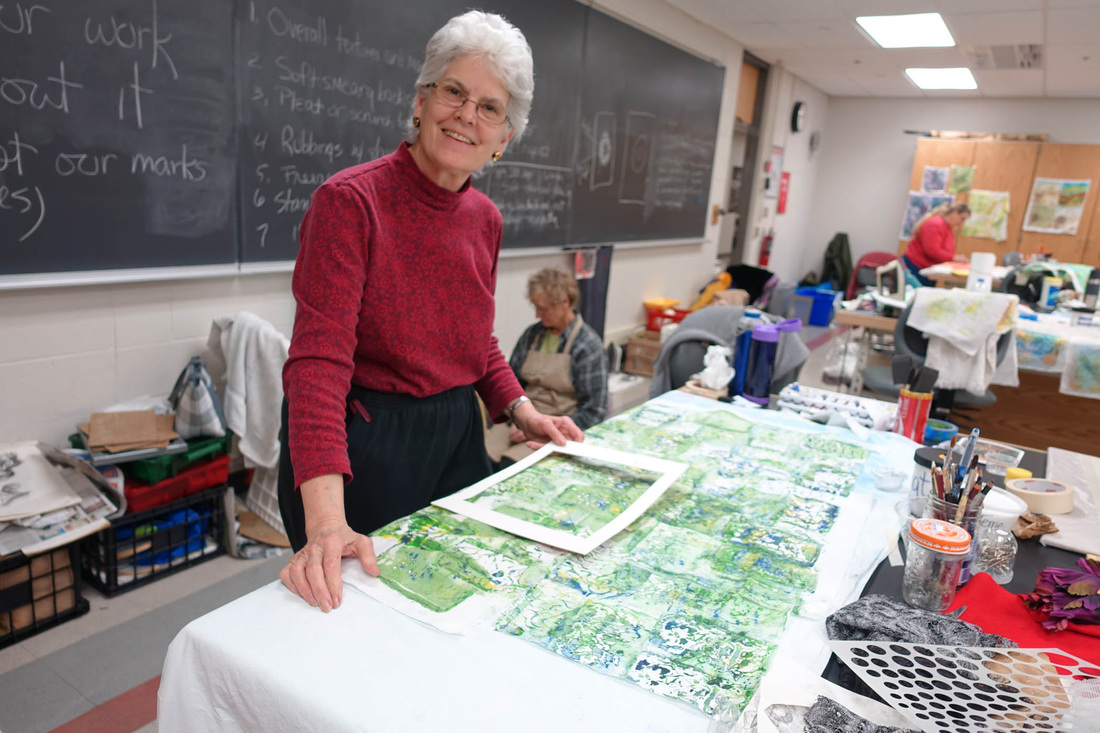
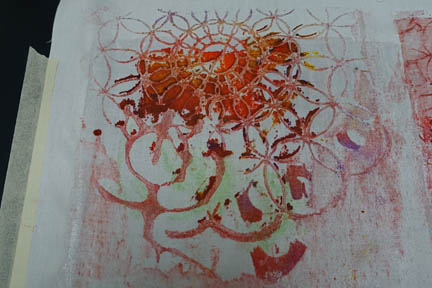
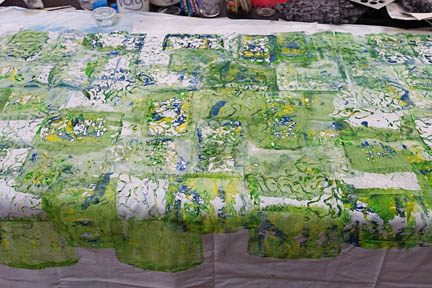
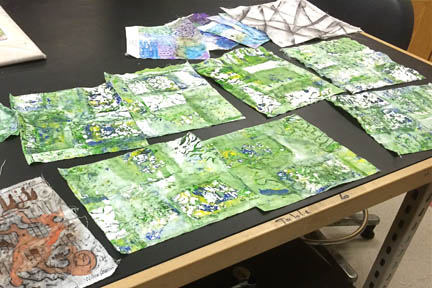
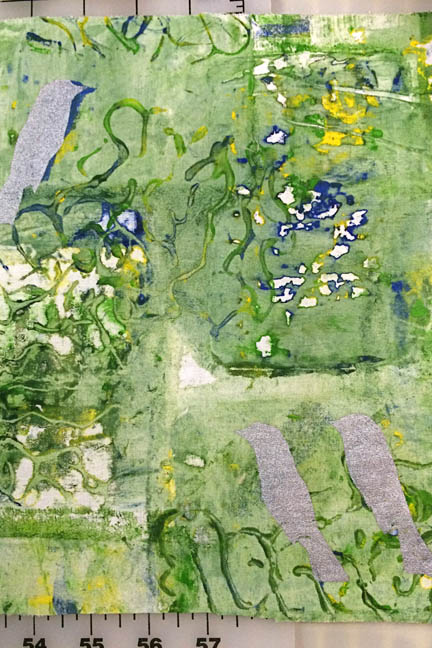
On the third day I worked on screen printing. Shapes made with a hot glue gun were the basis for my silkscreen design and stamps for the fabric. I limited my color palette to green, blue and yellow watercolor.
| Once the watercolor was dry, I used an open frame to determine areas of the design I wanted to isolate. I cut out several rectangular shapes. | 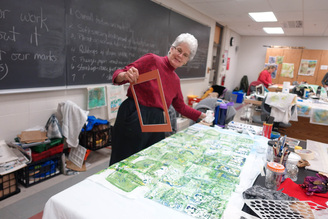
| 
|
These green rectangles became the fabric project for my next workshop with Kerr.
The Needlework and Textile Guild of Michigan, another of my favorite guilds, arranged for Kerr to give a workshop while she was "in town". I brought my fabric pieces and started phase two of my project.
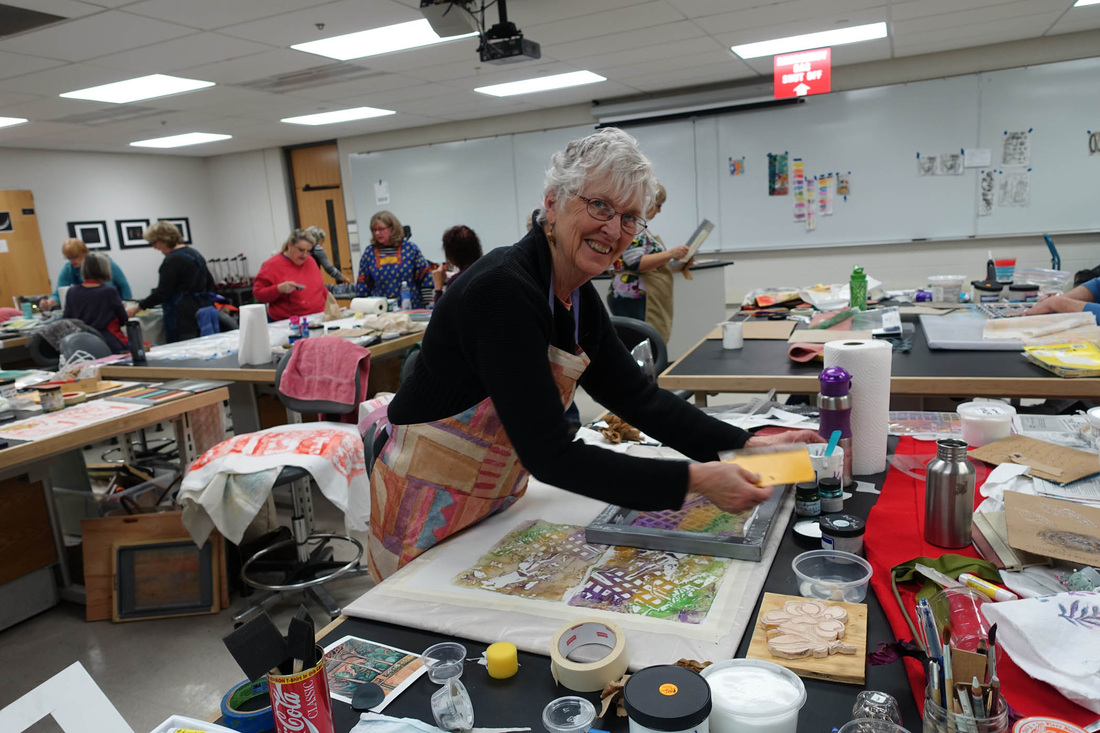
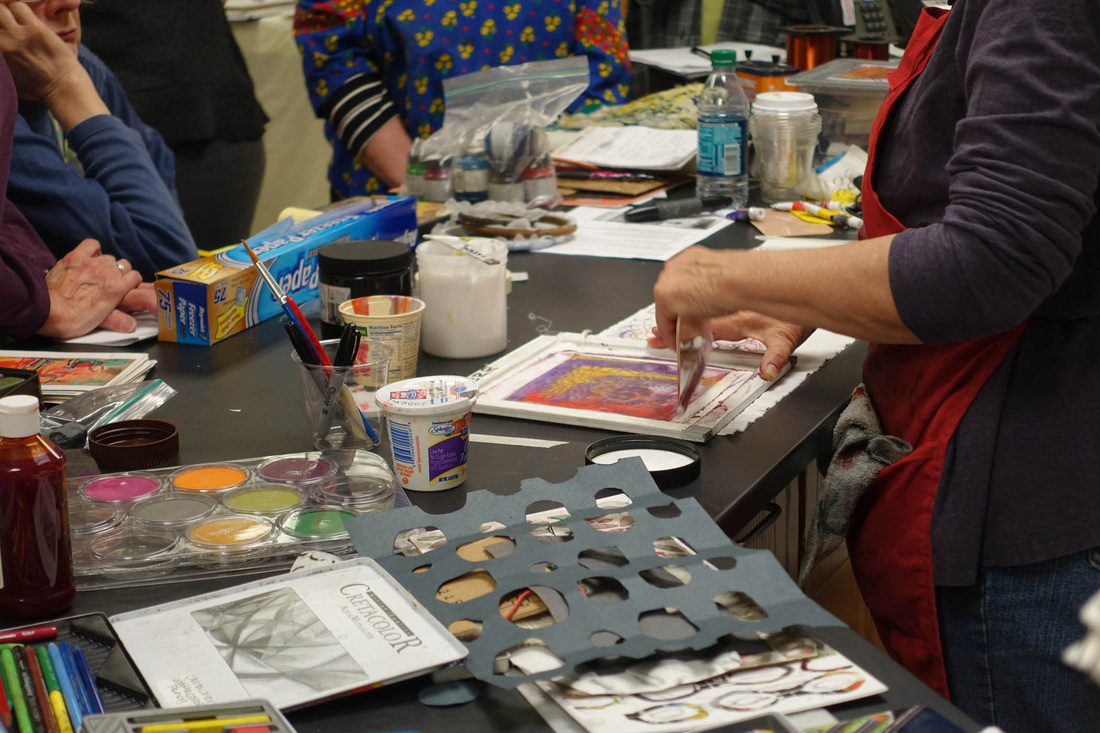
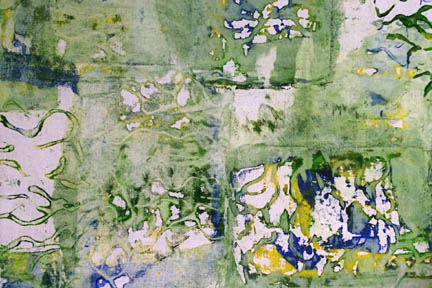
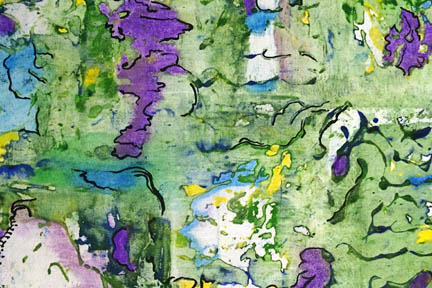
Using pastels, watercolors, India Ink, graphite, and Silver metallic paint, I embellished my fabric pieces. There was no purpose other than to experiment in creating each piece in it's own way---to follow the design and see what story it would tell.
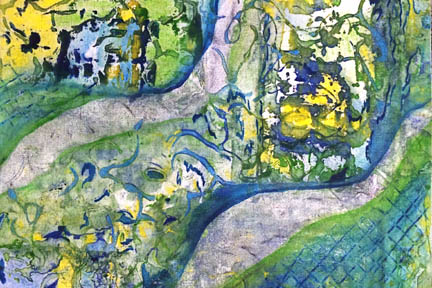
My birds were inspired by a blue smudge that looks bird-like in the top left corner. There is more to this story and I will return to this piece adding details, when I know what is it.

Adding the mediums of pastels, watercolors, ink, graphite, charcoal, and colored pencils to my dyes and fabric paints opens up more choices and an ability to create fine details. Thanks, Kerr! It was a delightful and highly informative week!


 RSS Feed