
 |  |
In January I took a class in free-form crochet. I spent the next six weeks playing with the concept. I found it is not easy, especially if you want to end up with something that is formed into a certain shape. I started making a ruana, a poncho-style garment, but it morphed into a long cape and finally settled into a short a kimono style sweater.
My Process
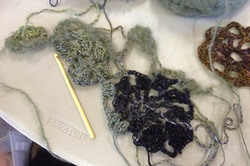
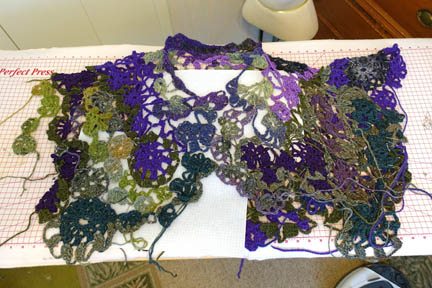
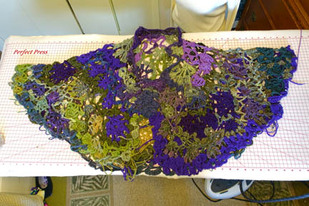
I started making long crocheted shapes of large and small circles and half circles and odd-shapes. Not being a crocheter (except for finishing edges on knitted pieces) I had to learn the stitches I wanted to use. But I had no worries about breaking the rules, since I didn’t know the rules. I crocheted loosely and in a wild fashion with no problem.
I made a variety of crocheted pieces in coordinating colors. One piece draped nicely around the dress to form a neckline.
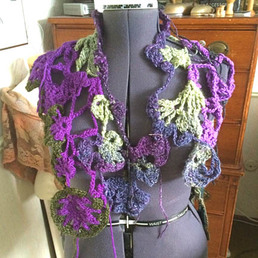
Using a dress form (as suggested by our instructor, Sandra Vanburkleo, owner of Artisan Knitworks) I pinned sections together. Yes, I did make an investment in pins. I recommend small, medium and large pins to adjust the spacing.
Using a dress form (as suggested by our instructor, Sandra Vanburkleo, owner of Artisan Knitworks) I pinned sections together. Yes, I did make an investment in pins. I recommend small, medium and large pins to adjust the spacing.
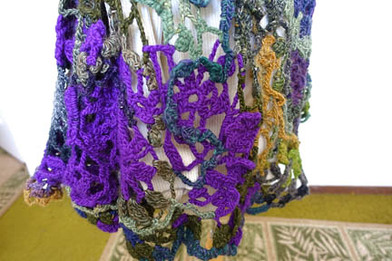
 | I pinned and repined many times to get the shape and color I wanted. | 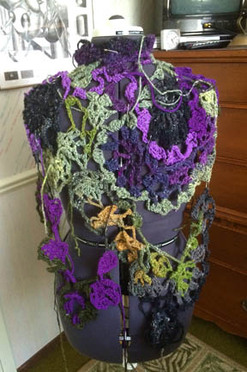 |
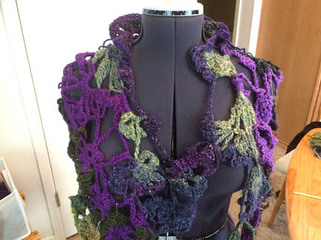
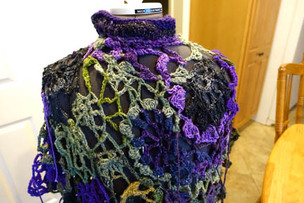
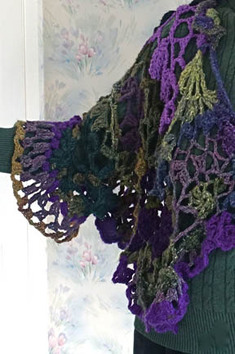
Crocheting directly on the dress form I reinforced the neck-piece and created a collar. Eventually the piece was stable enough to crochet in my lap.
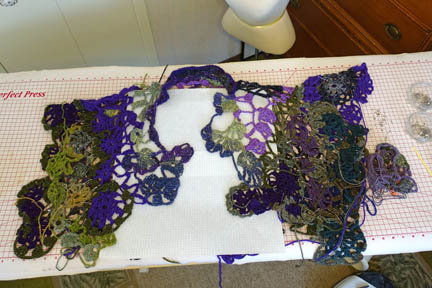
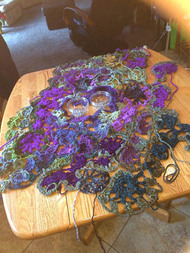
Sometimes it was best to lay out the piece on a table for pinning.
 |  |  |
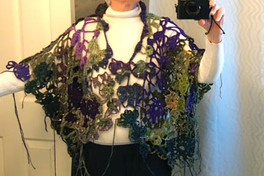
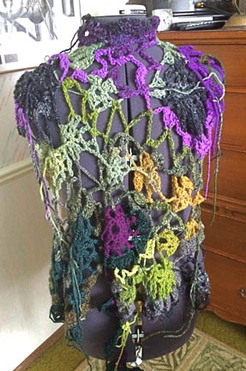
When I had a garment, I tried it on, pins and all, to photograph. This is a great technique to see a piece from a different perspective. I could see my garment was hanging well in some areas and bunching up in others. Yarn need to be removed while other areas needed reinforcing. I became creative in removing yarn (sometimes with scissors, which is flirting with disaster). I crocheted pieces to fit into the holes and added yarn to fill out the edges.
The longer I made my garment, the more it pulled on the neckline. I reinforced it by adding more lines of support and crocheting over any thin lines. This is when knowing the rules of shaping and reinforcing in crochet would have helped. I just worked the problems keeping the design pleasing to my eye.
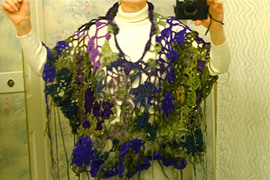
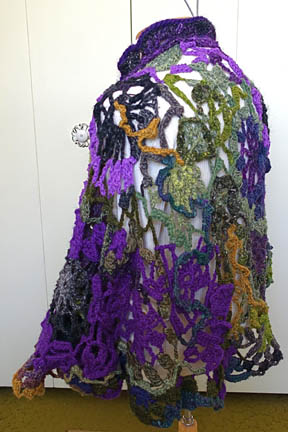
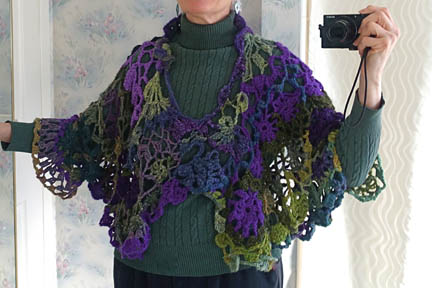
With reinforcement I extended the length of the garment. But as I studied this photograph, I decided it was too becoming too cumbersome losing the delicate flow I liked. I began removing yarn – another reason this was a six-week process!
I shaped the garment into a cape.
But it still wasn’t right. Capes move around as you wear it and can be quite annoying. This piece called for sleeves.
But it still wasn’t right. Capes move around as you wear it and can be quite annoying. This piece called for sleeves.
I turned two side of the cape together to make one piece of fabric for each sleeve, but it didn’t look right. Instead I extended the length of each side, and formed the sleeves with a simple crochet stitch.
I crocheted the remaining pieces together, adding layers of yarn for reinforcement, interest, and color.
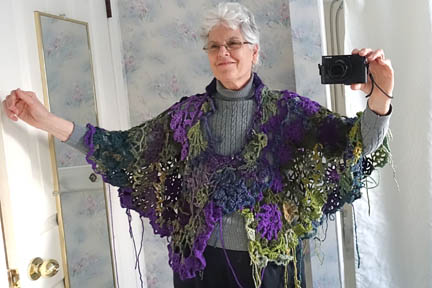 Finished - except for a few hundred loose ends! Each was carefully woven into the garment with a tapestry needle and secured. | 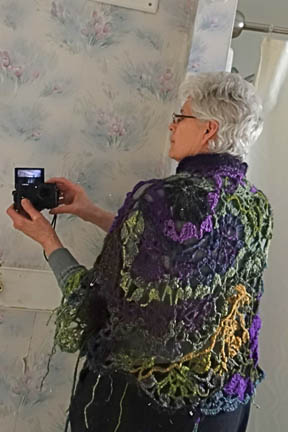 |
I 'm pleased with how my sweater turned out. It was fun learning free-form crochet and look forward to working with this technique again.
 |  |
 RSS Feed